

I love creating gallery walls in our home! It makes the space feel so much more like our own. Whenever I walk by the photos of our family it makes me smile! If you’re looking for motivation and a little encouragement in how to create your own gallery walls…this post is for you! It really doesn’t have to be a hard process if you have a good game plan.
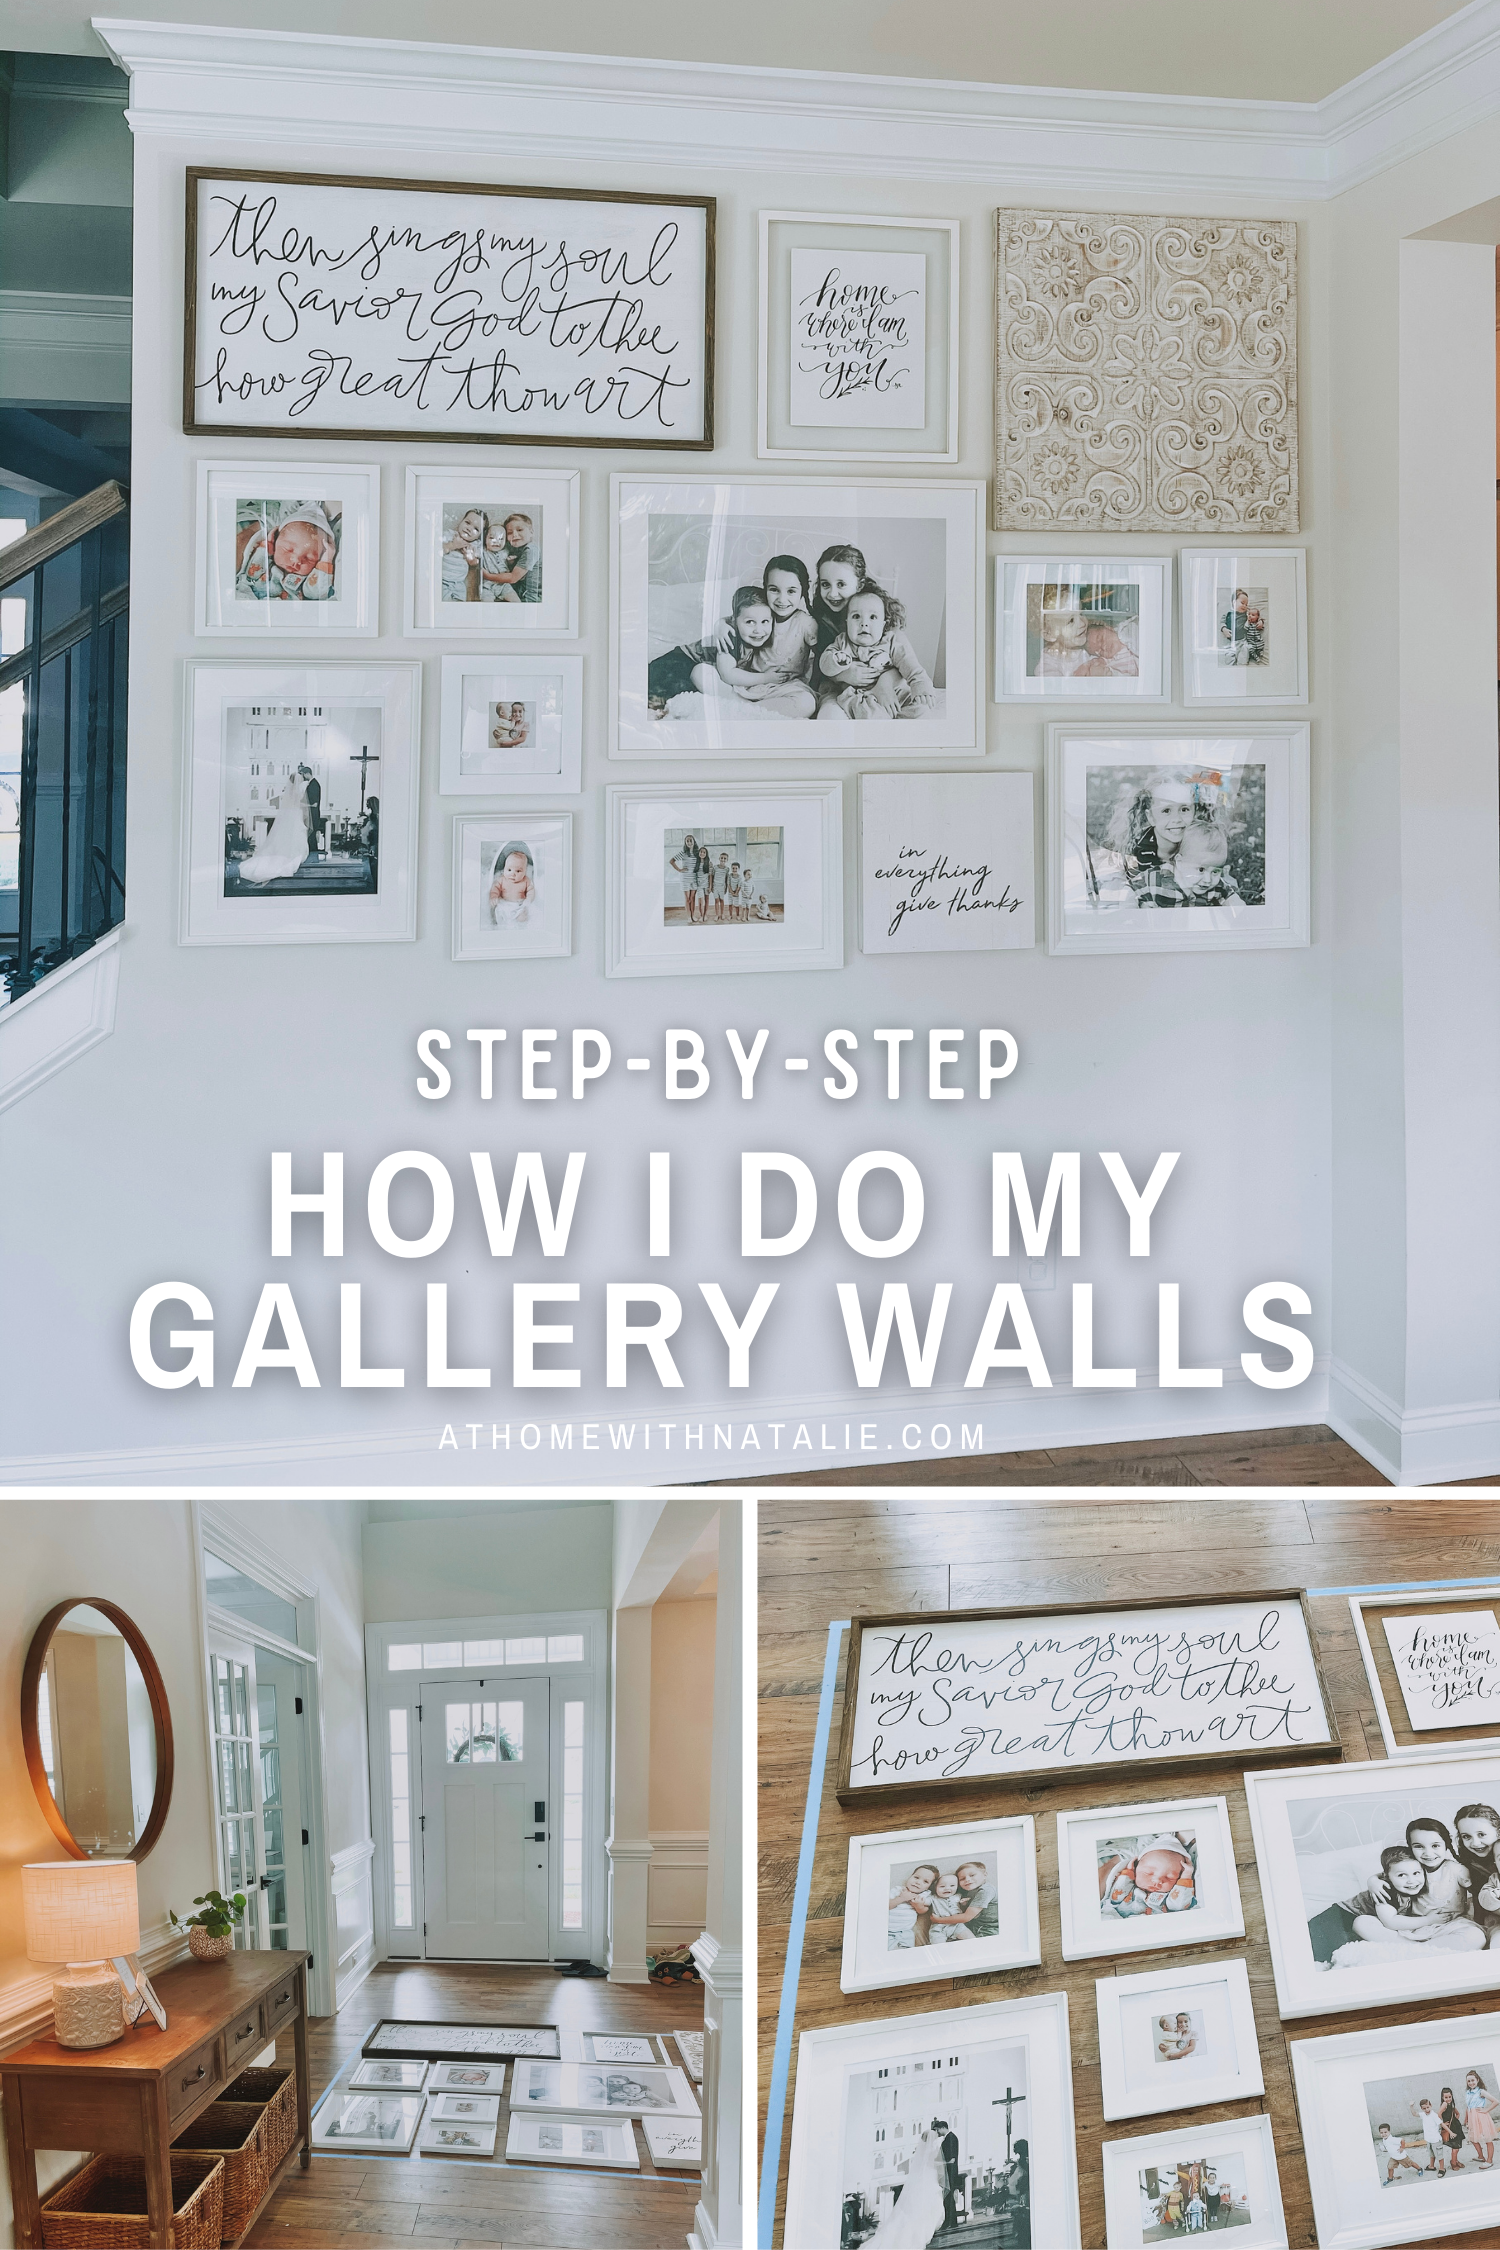
In today’s post I’m going to show you, step by step, how I put up a recent gallery wall in our new home. I usually do this process on my own, but my husband was my lovely model for the day AND asked to help….I love him. He knows the way to my heart. haha. I think he also was excited to add some personalized touches to our new construction home. It’s been fun getting settled here!
1. Frames and Artwork
I used pieces that we already had…(I’ve been gathering over the years!) but, if you are starting from scratch, here are a few of my favorite places to find frames and artwork.
IKEA of course has great basic white frames for a good price. (RIBBA)and I would highly suggest starting there for the bones of your gallery wall, but if you can’t make it to a IKEA I have found great frames at Target and Walmart. I like the Made By Design brand frames at Target. They have matted frames that I like when printing/hanging smaller photos. I get almost all of my artwork pieces from Hobby Lobby. You can grab them for great prices when the wall decor goes on sale! And far as printing my photos, I use my own printer (HP DeskJet 2755e) when I’m printing photos that can fit on the paper. If I need larger ones, I’ve used Canvaspop (which is the frame and the print combined!) or I’ve sent photos to my local Staples to be printed. You can also create your own artwork to fill the larger frames. (we did that in my Sophia’s gallery wall in her room!)
Another reason I love IKEA frames is because they have a good amount of plastic instead of glass options. I always do that type on the bottom row of my gallery walls.
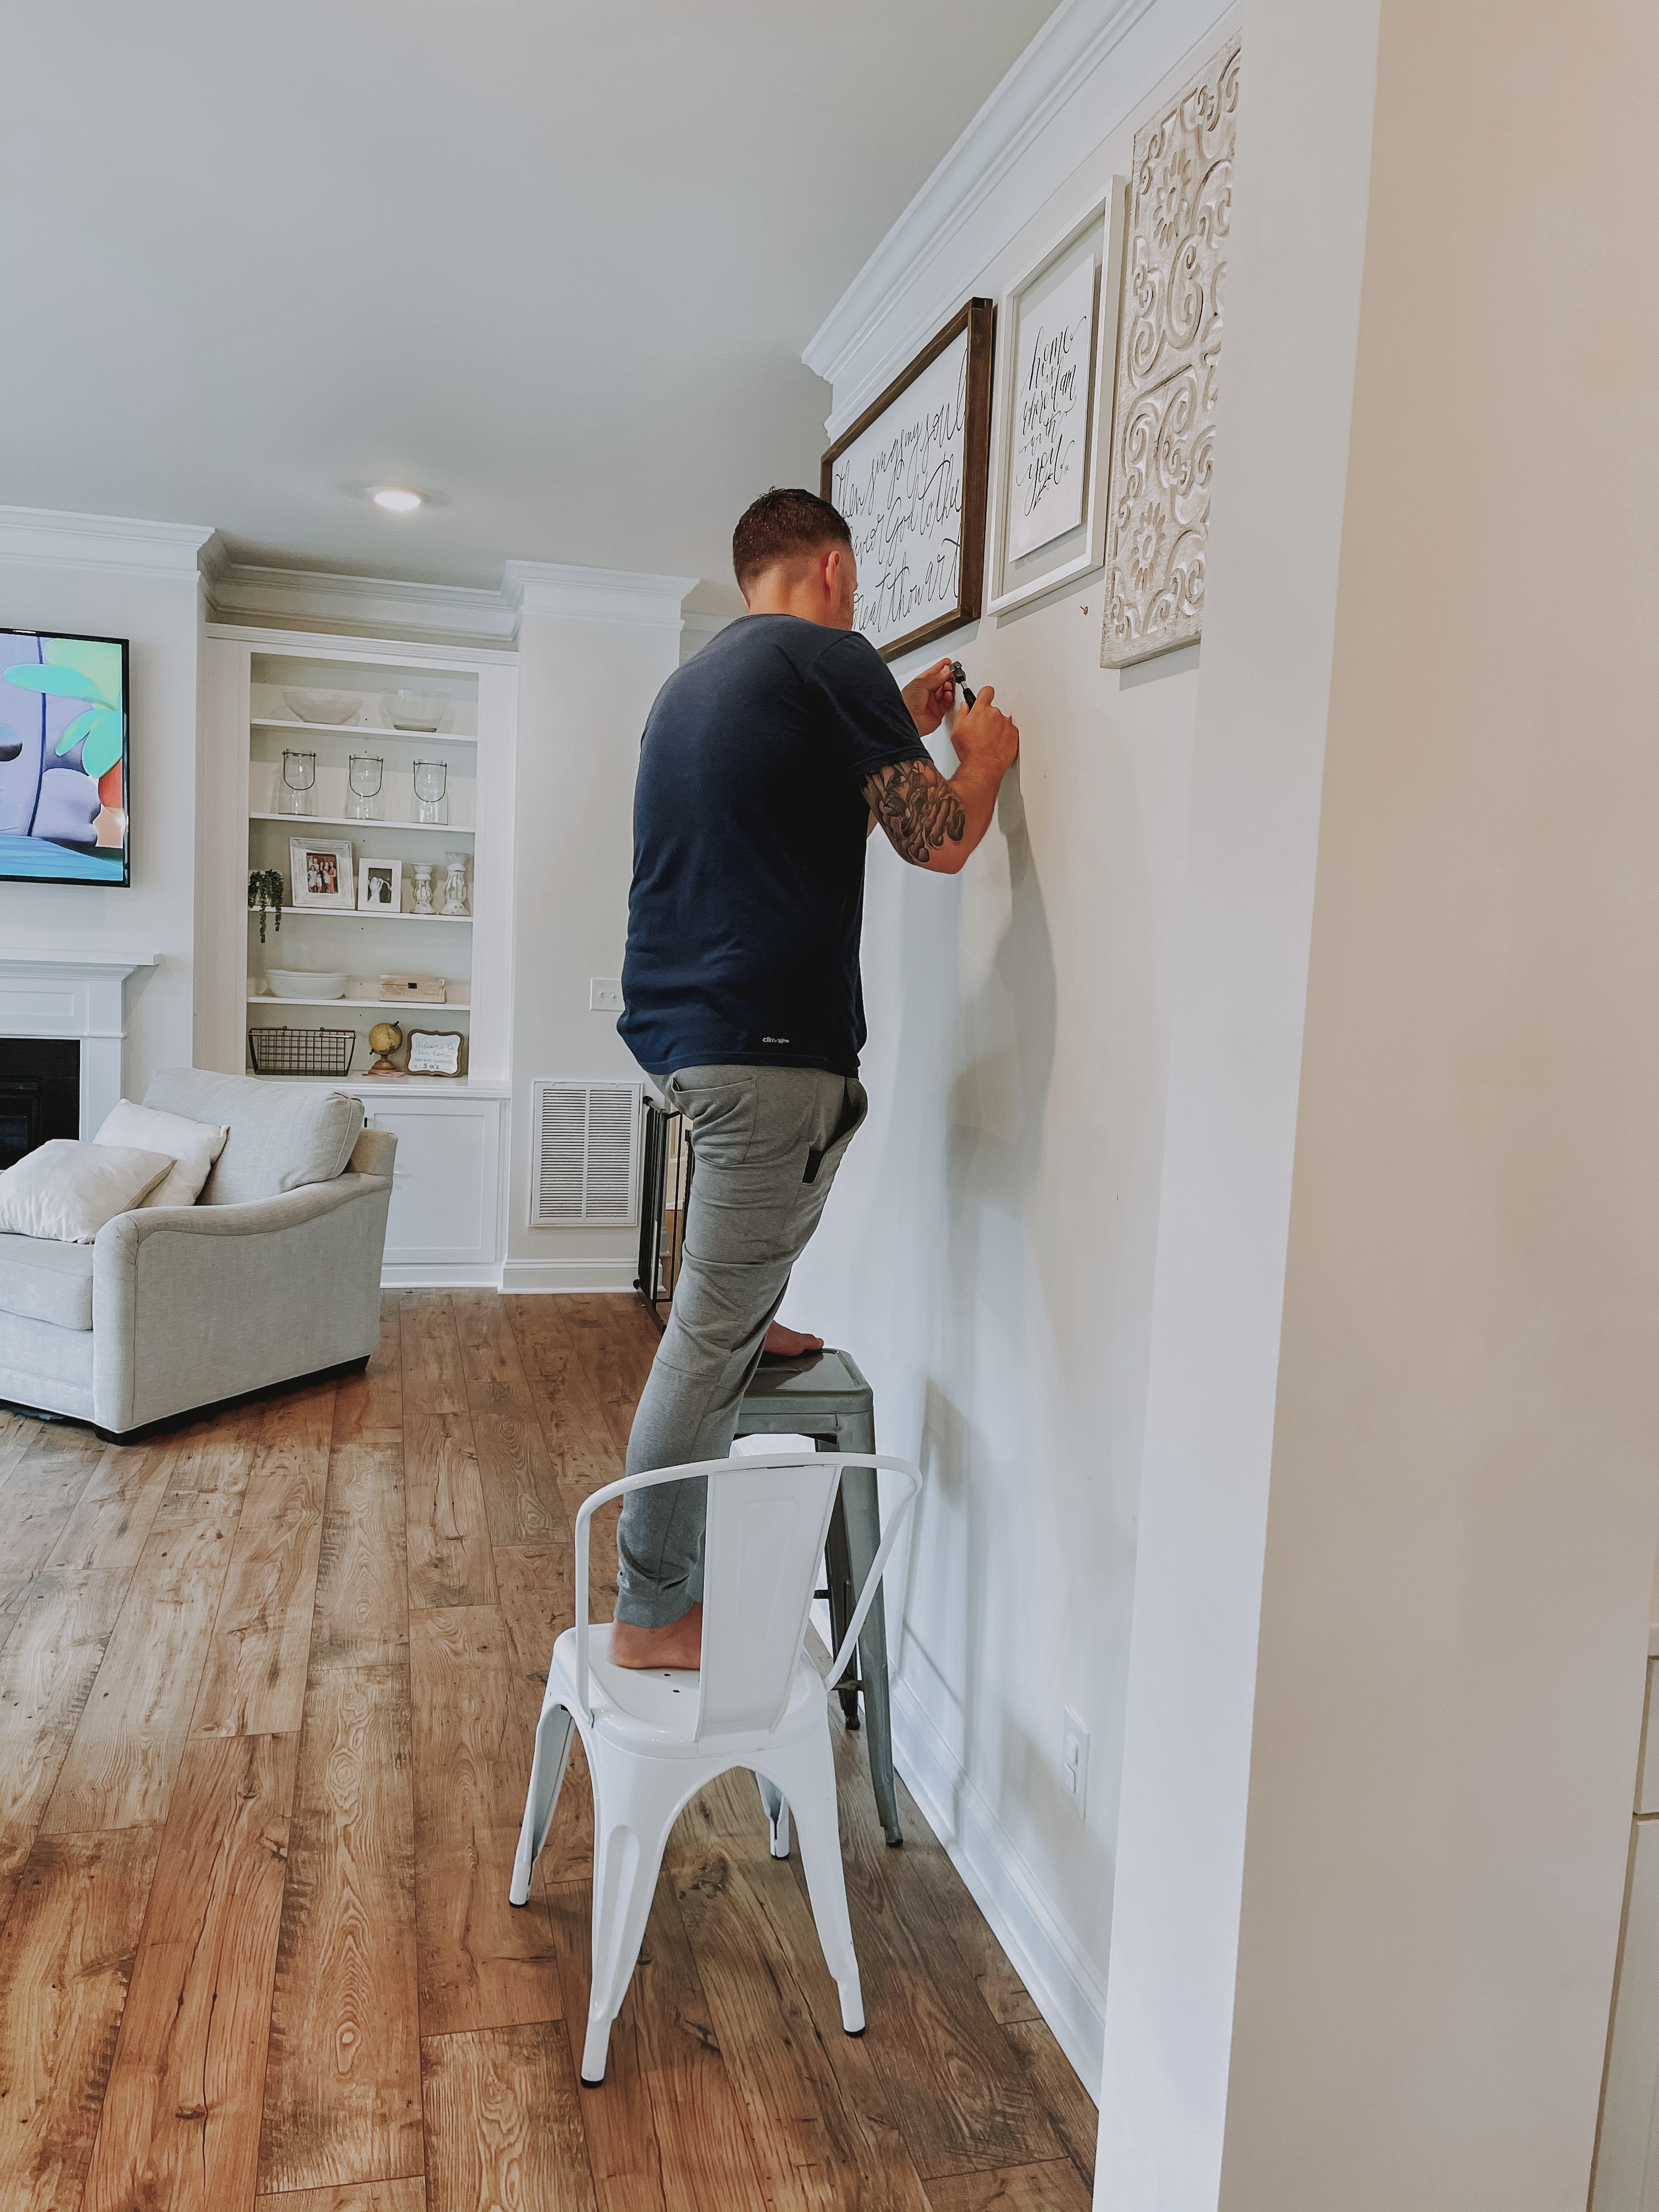
2. Have the Right Tools
When I’m hanging frames there’s a few basic things I want to have handy.
–a level
–a picture hanging kit
– a hammer (I like smaller hammers for this job!)
– blue painter’s tape
–tape measurer
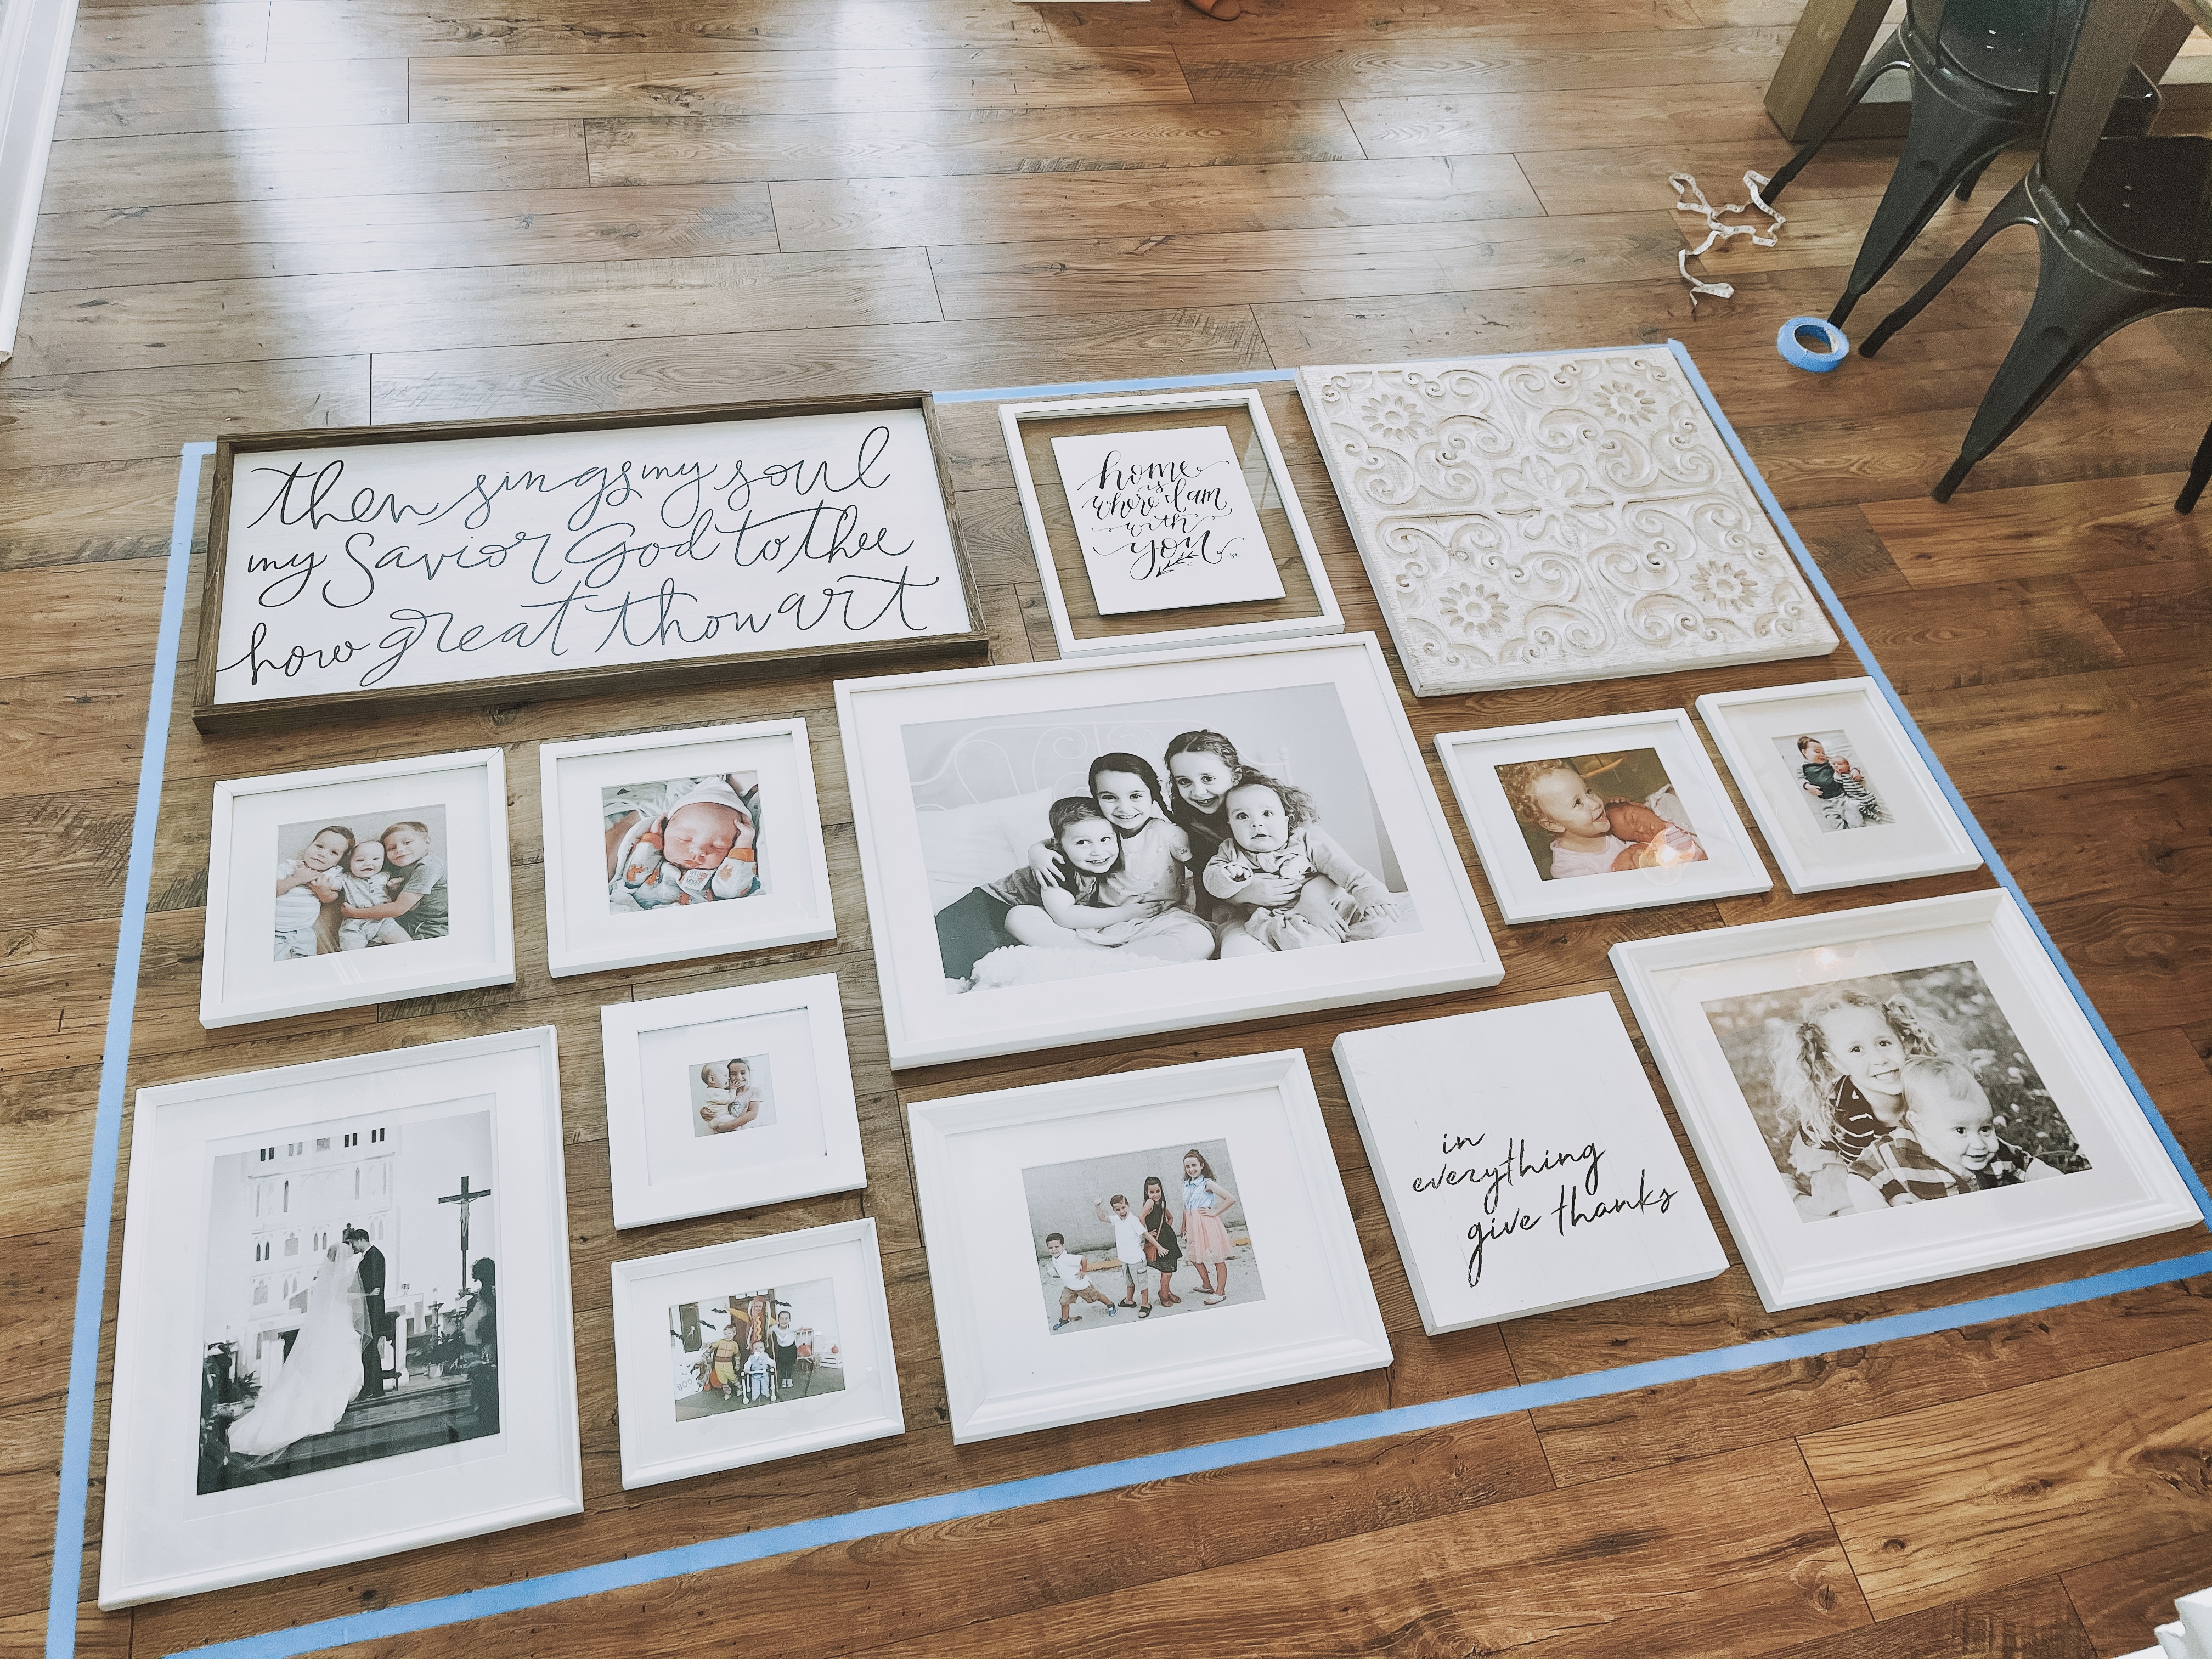
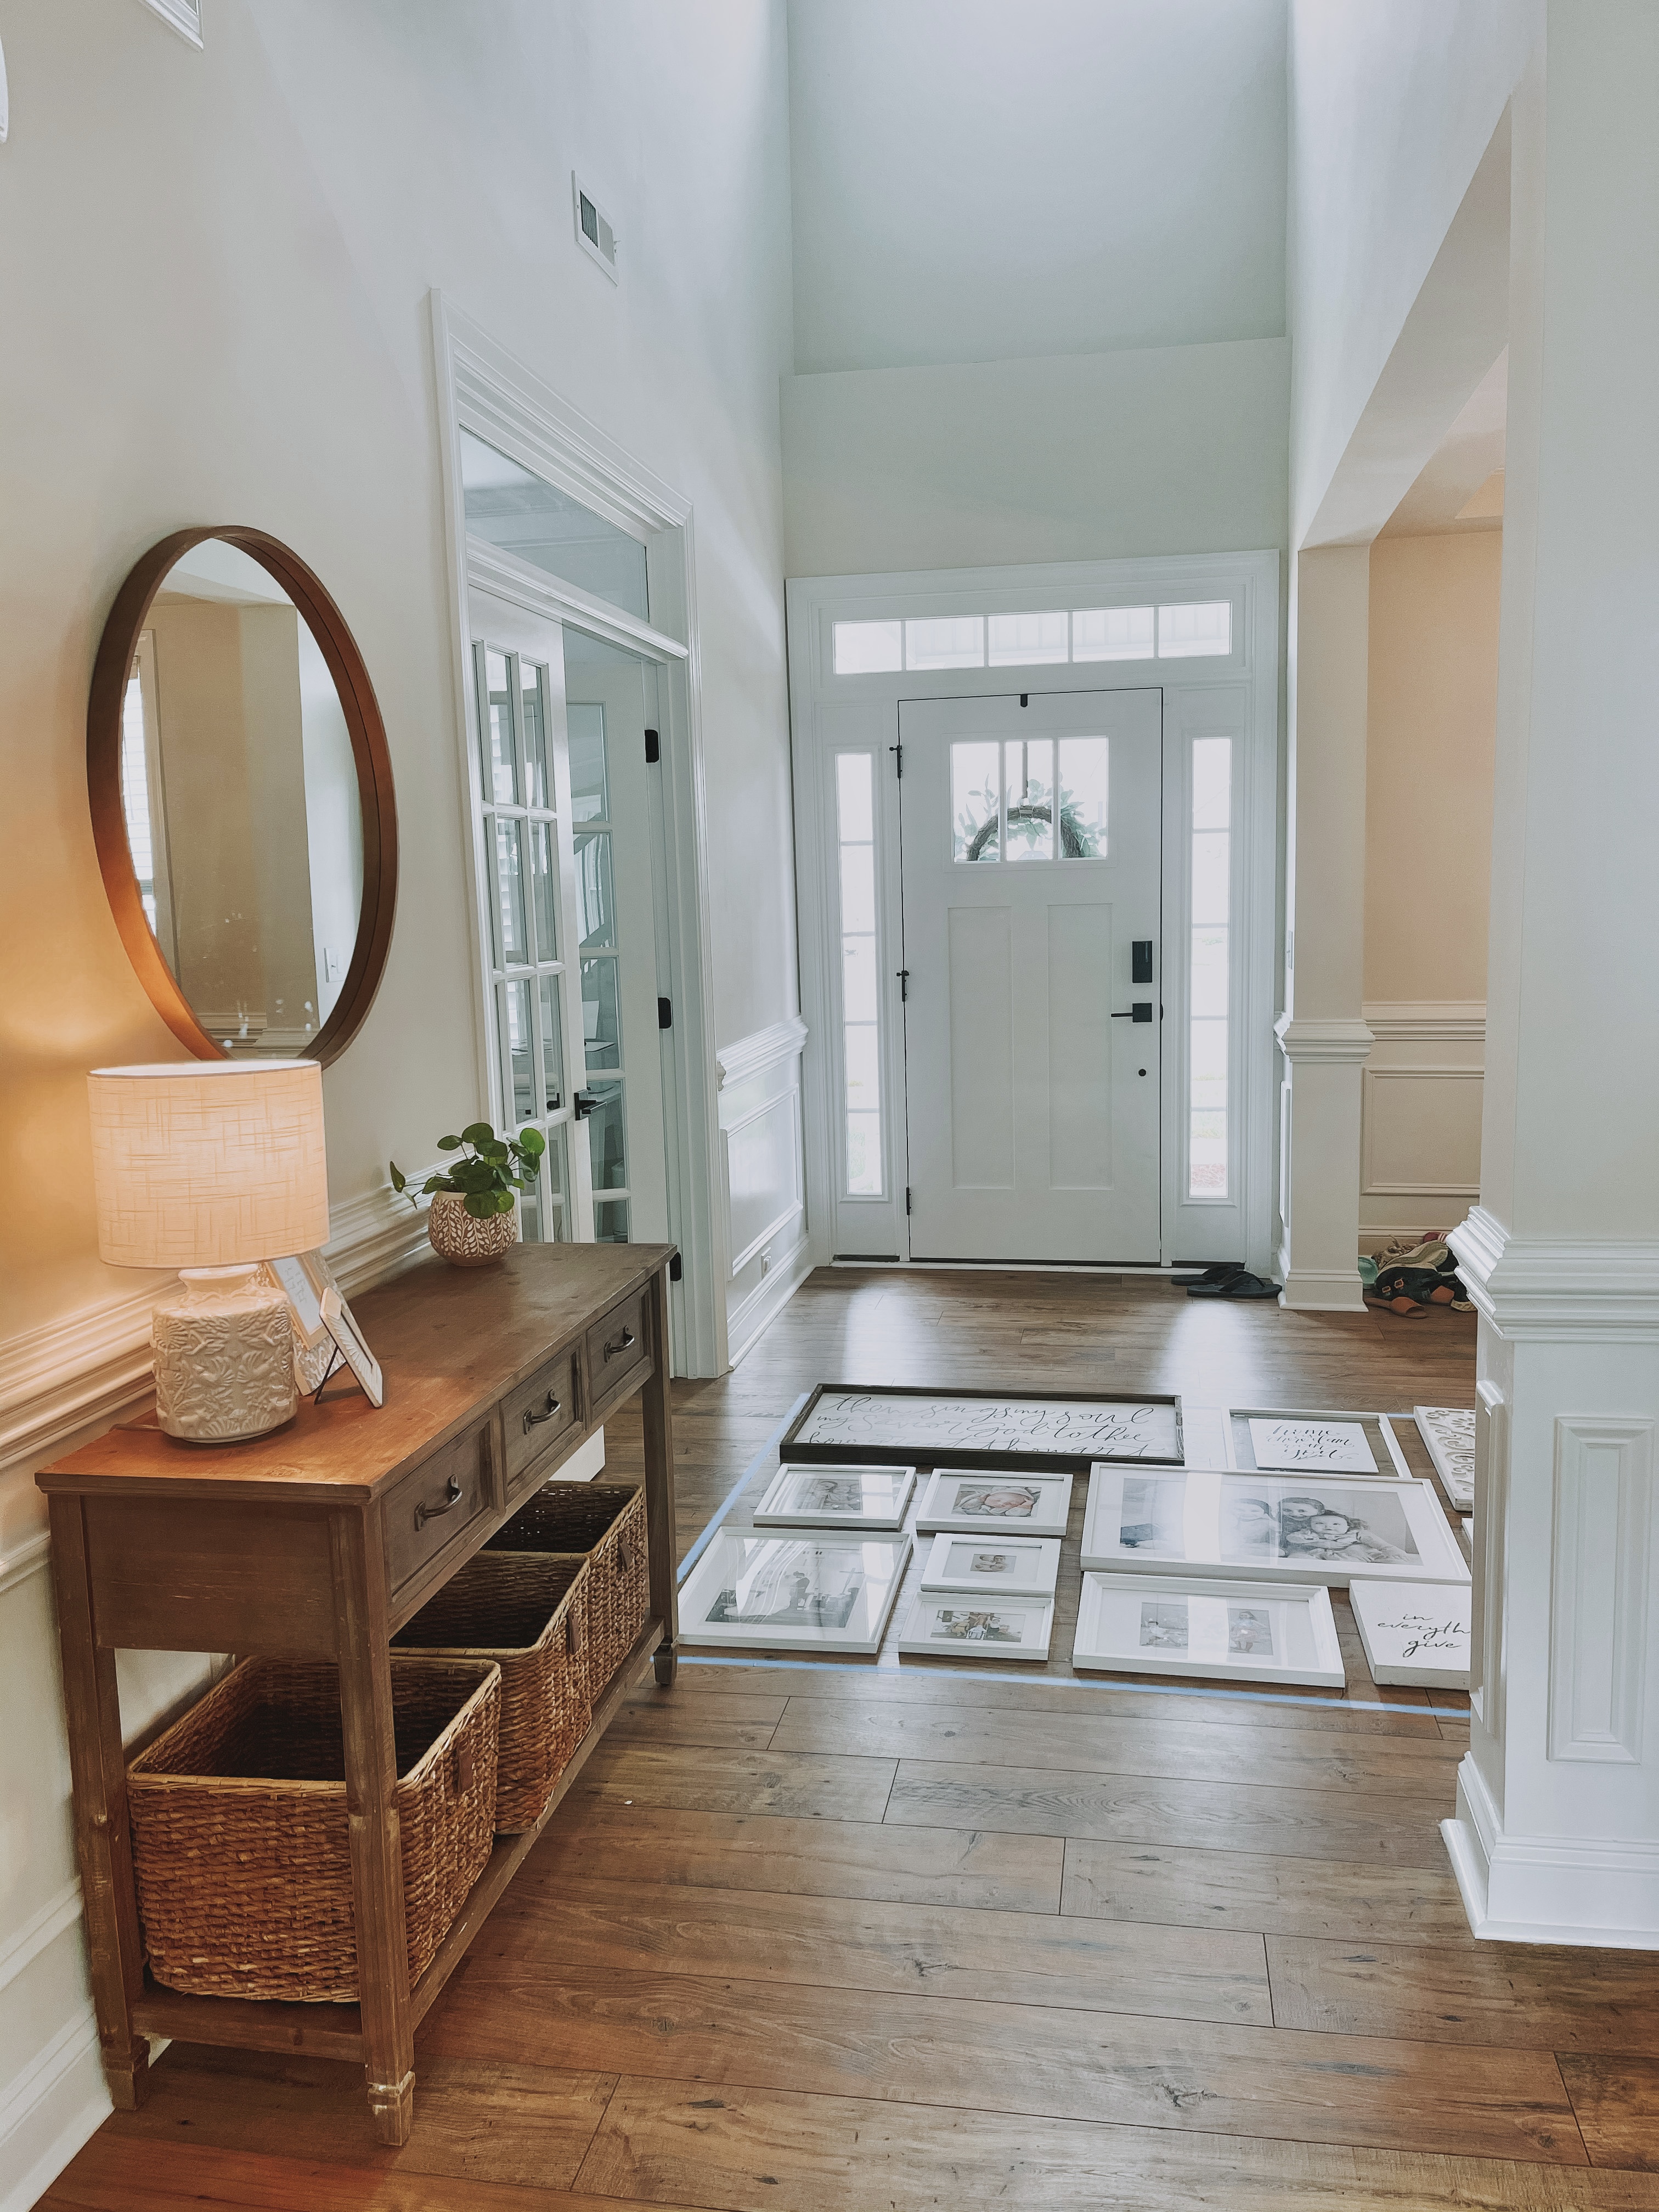
3. Make mapping out your frame set up EASY
When putting together my gallery walls, I typically put all of the pieces I’m working with on my Dining room table. I then measure the wall area. I find a space on my door that’s large enough and tape out those measurements. NOW…it’s the fun part! I play around with the frames on the floor until I get it just right! Sometimes I’ll have a photo already in a frame, but if it looks better a different direction, I’ll just position it the way I want it and then switch out the photo.
Now when I am hanging my frames, I don’t usually need a guide to know where to put it…I picture it and go for it. BUT, if you are wanting a little more of a plan, in the past…I’ve used wrapping paper to create patterns of the frames and then hang those onto the wall to really get a good idea of where everything is going. It’s up to you!
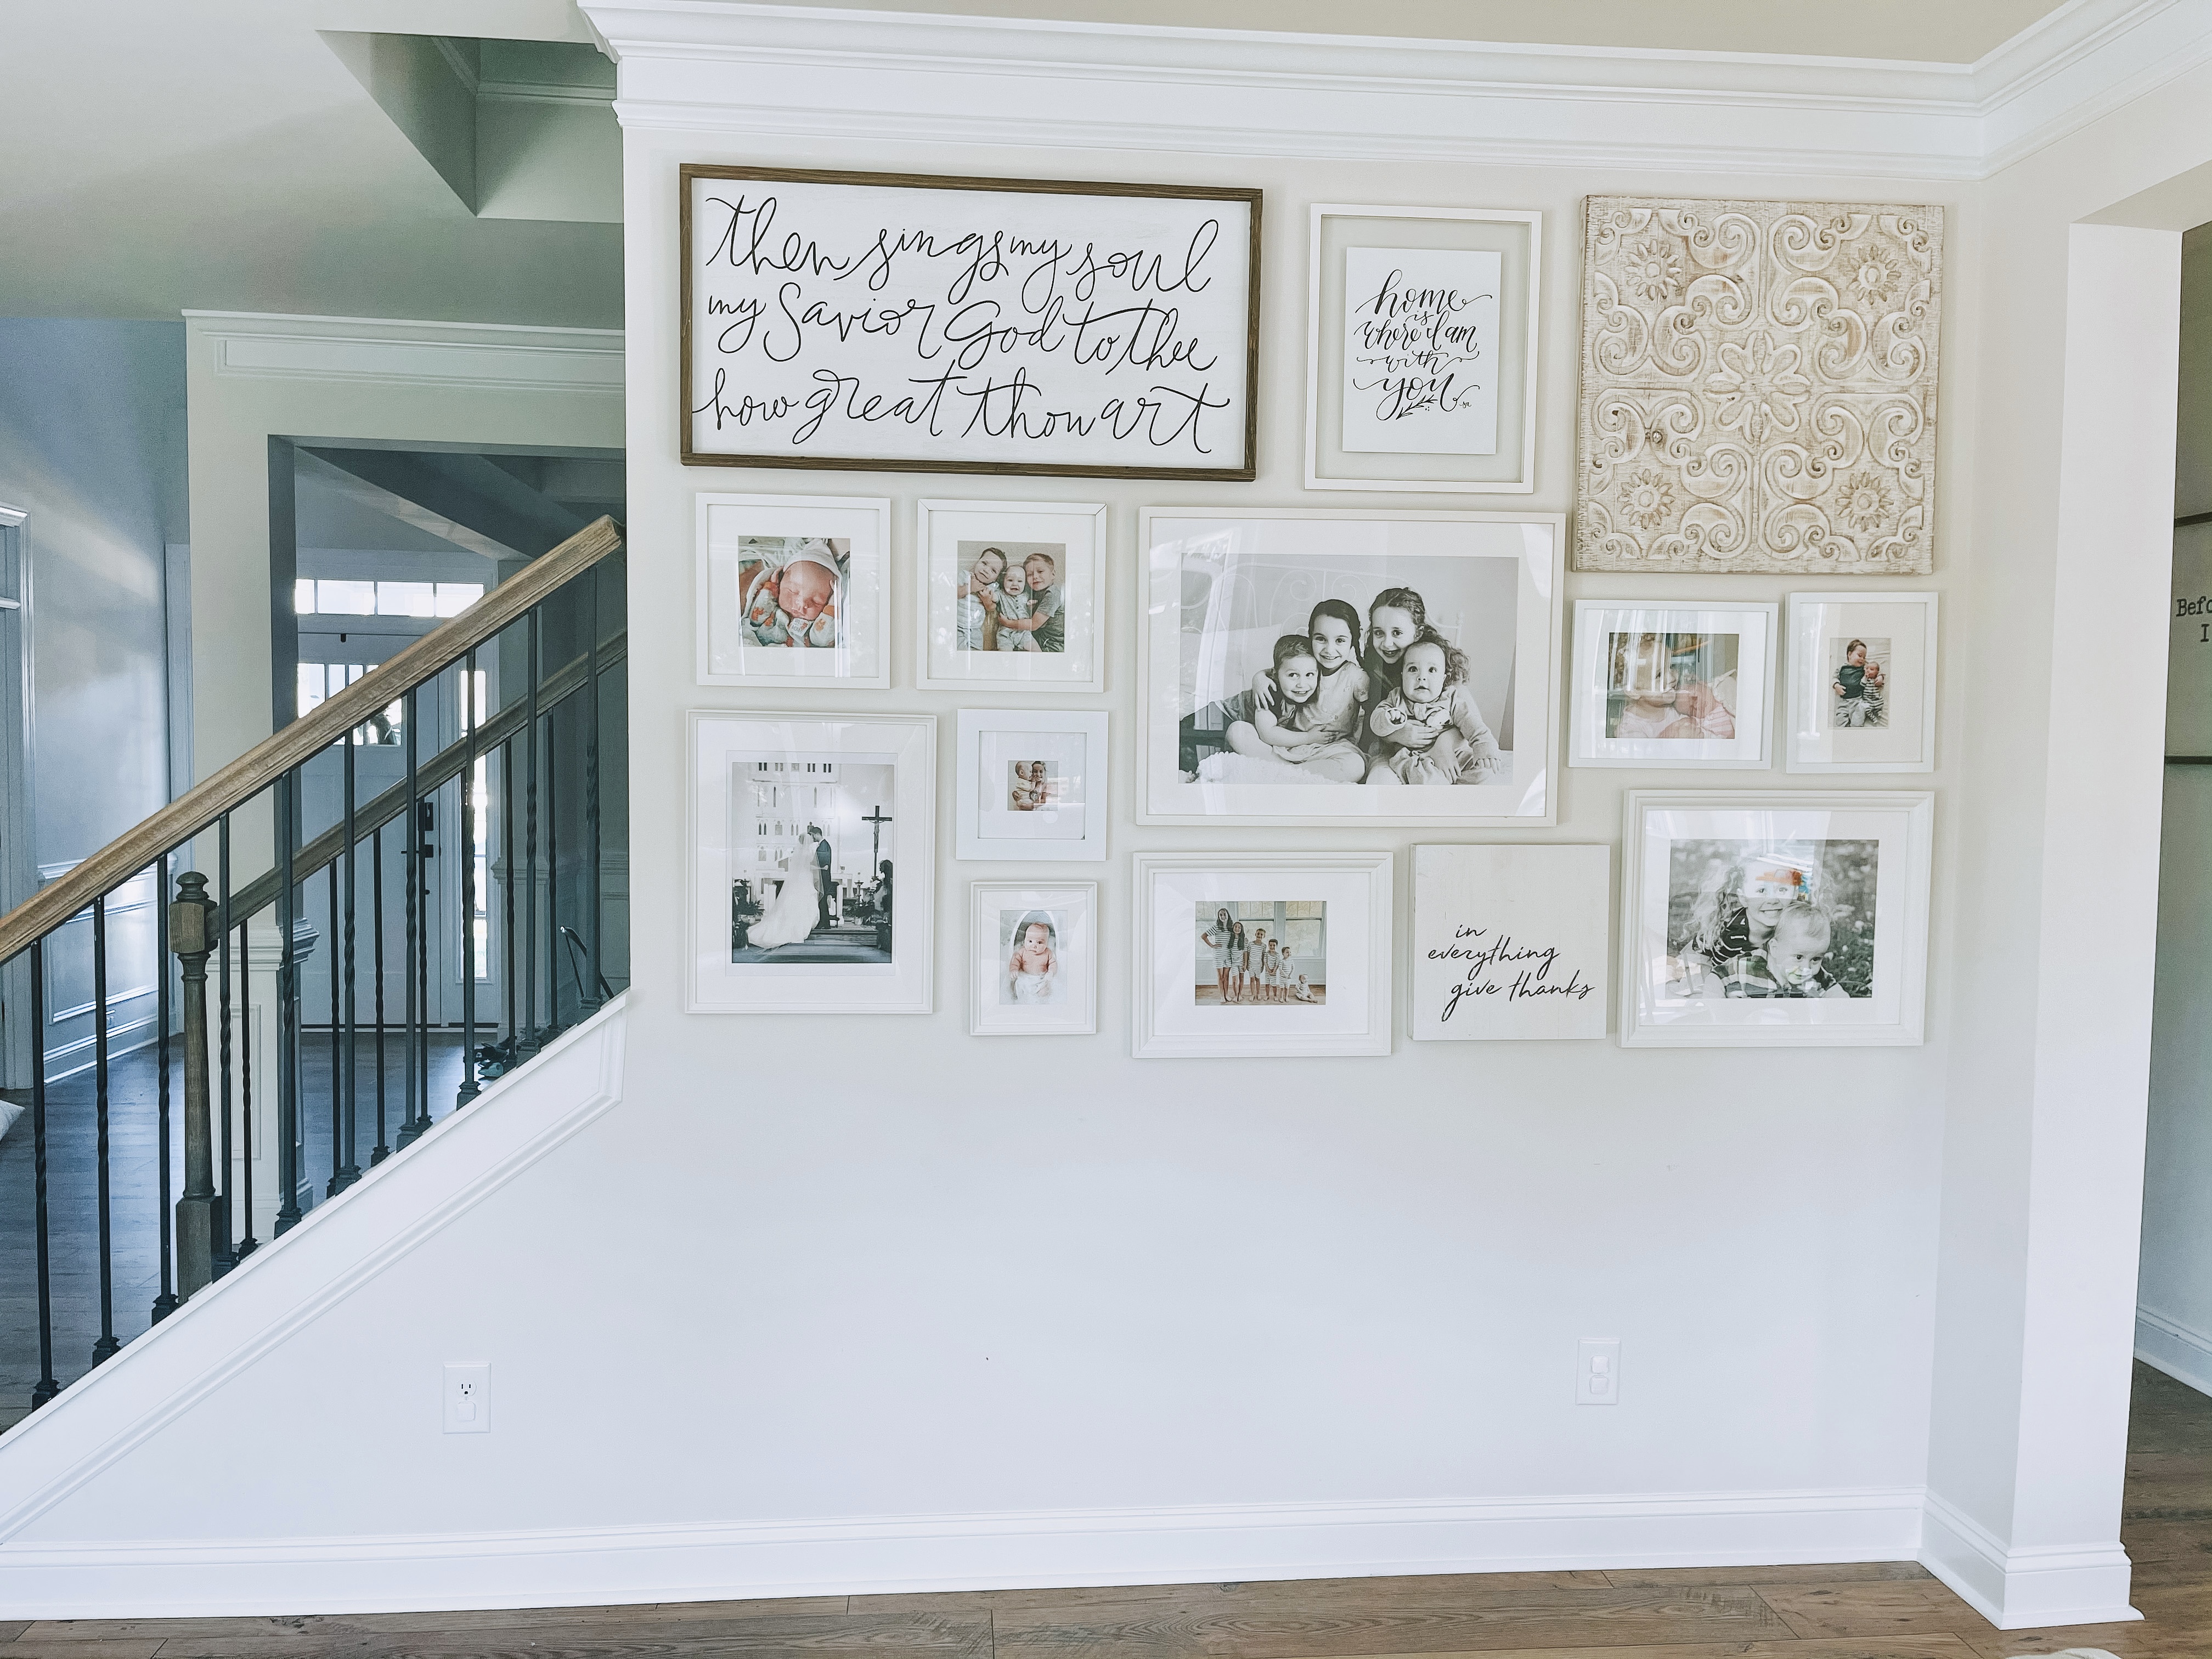
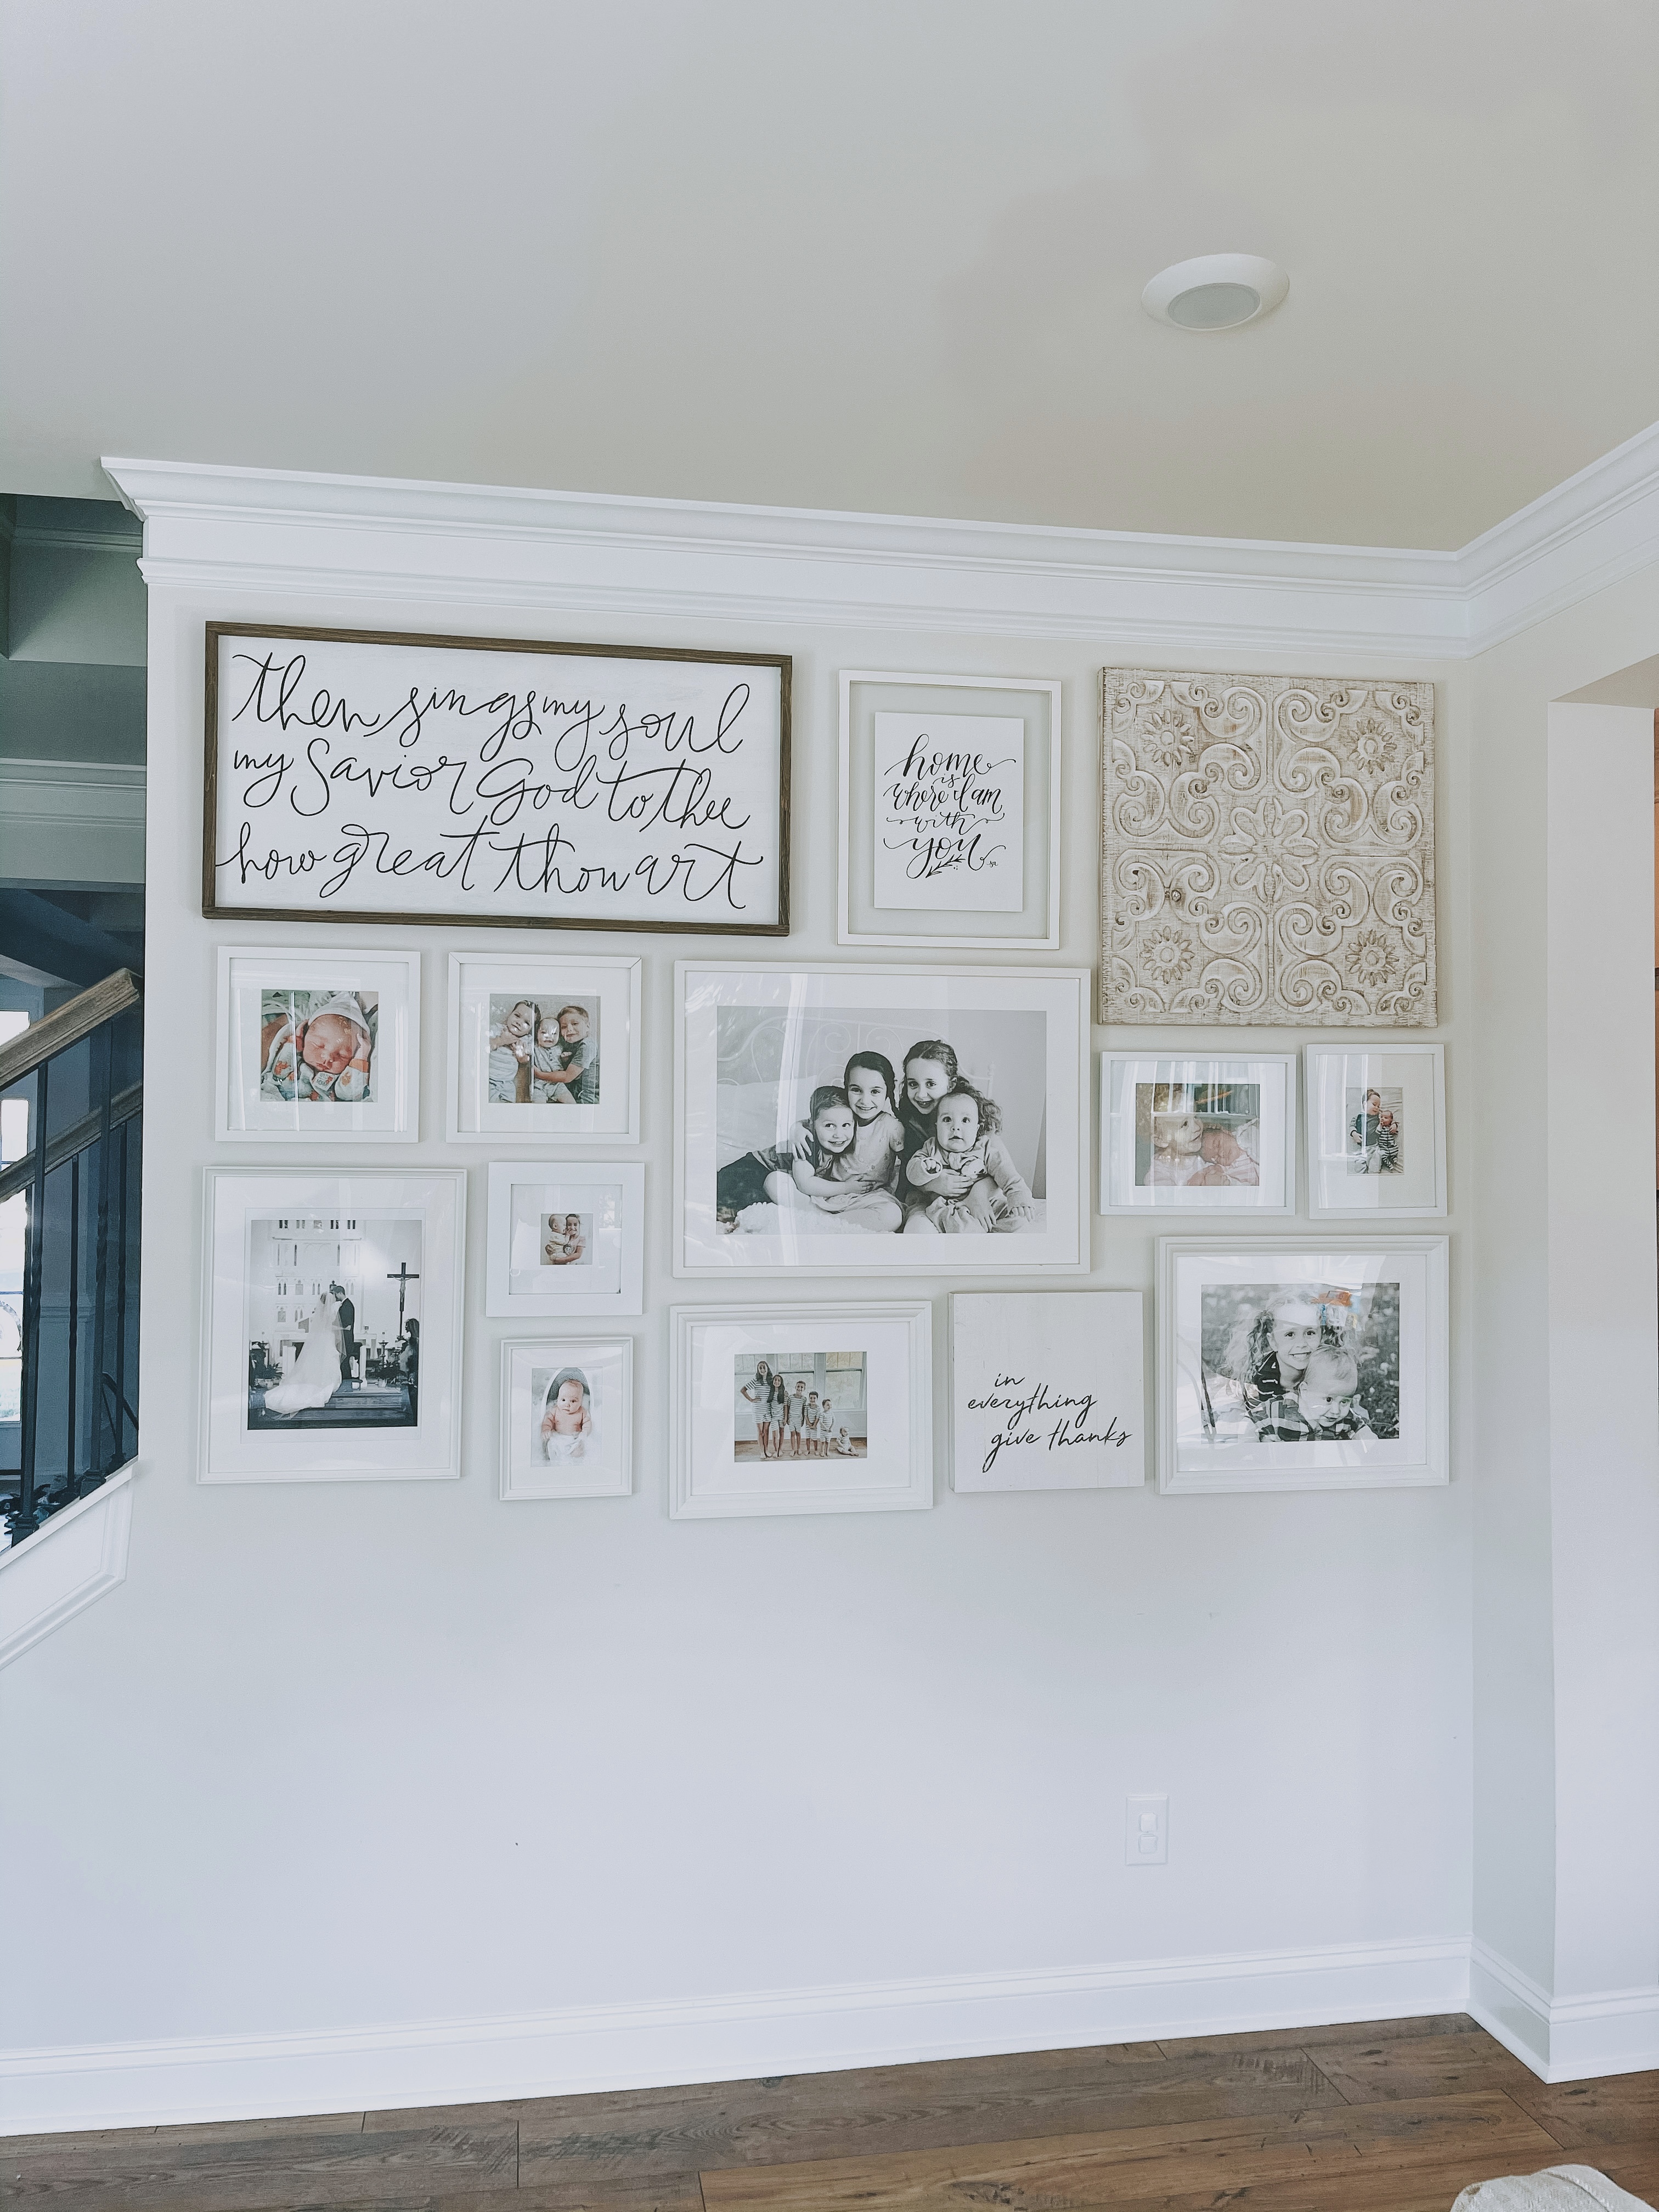
Need a few tips for getting the frame placement just right? I usually put larger pieces corners. It helps anchor the gallery wall. I also like to mix sizes but plenty of gallery walls can look amazing with the exact same size frame! The uniformity is very pleasing to the eye so you really can’t go wrong! Also, this is your space..your home…so put whatever you want on the walls! I have special things we have worked into the gallery walls (some we hang on hooks!) and it makes it even more beautiful to me because it symbolizes US.
You can do this! I know a lot of people put off hanging their gallery walls because they feel like they will mess up or it’s just a bigger project than they can take on. But I promise you, it’s worth the effort because it makes your house feel so beautiful and personalized!
Sometime this summer we are going to paint our family room – our favorite Revere Pewter- but I couldn’t wait to get some frames up on the wall. :)
If you use these tips and share your new gallery wall on Instagram, please tag or message me- I would love to see! @athomewithnatalie
Tiffany @ Foxy Fit Apparel
August 5, 2021 at 4:50 pmThis is beautiful! I think gallery walls make a home so warm and inviting, plus you get a little sneak peek into so very special moments. I saw another hack where you tape together wax paper or parchment paper to lay out all of your photos/art to scale. You hang the paper on the wall and starting hanging without worrying about messing up your layout!