

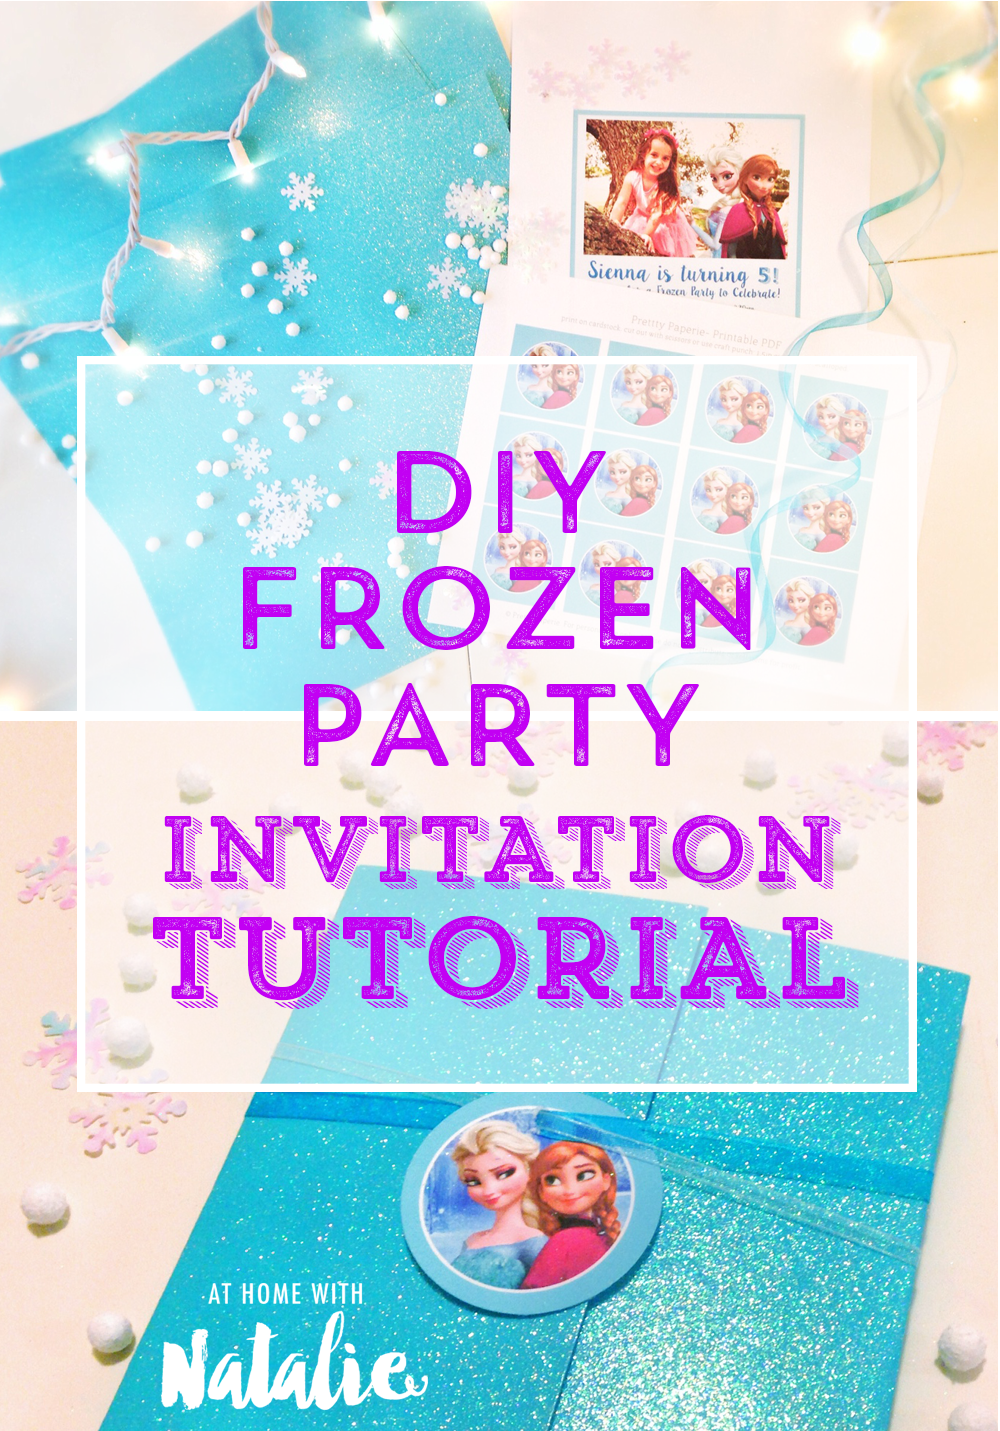
I love party planning! The other night, when the kids went to bed, I worked
up a little invite in photoshop for Sienna’s 5th Birthday Party. (Frozen Theme)
Sienna was next to her girls Elsa and Anna in the photo.
I left it up on my computer for Sienna to see when she woke up…. She was giddy!
I thinkkkkk they are coming to her party…but shhh. it’s a surprise. I’m giddy. ;)
I’m a late night crafter. Kids go to bed and I finally have some quiet time.
I usually blog during nap time. (like right now!) And occasionally work on projects during the day…
but If I really want to get anything done around here I have strategize. ;)
Ok! Let’s start the tutorial!

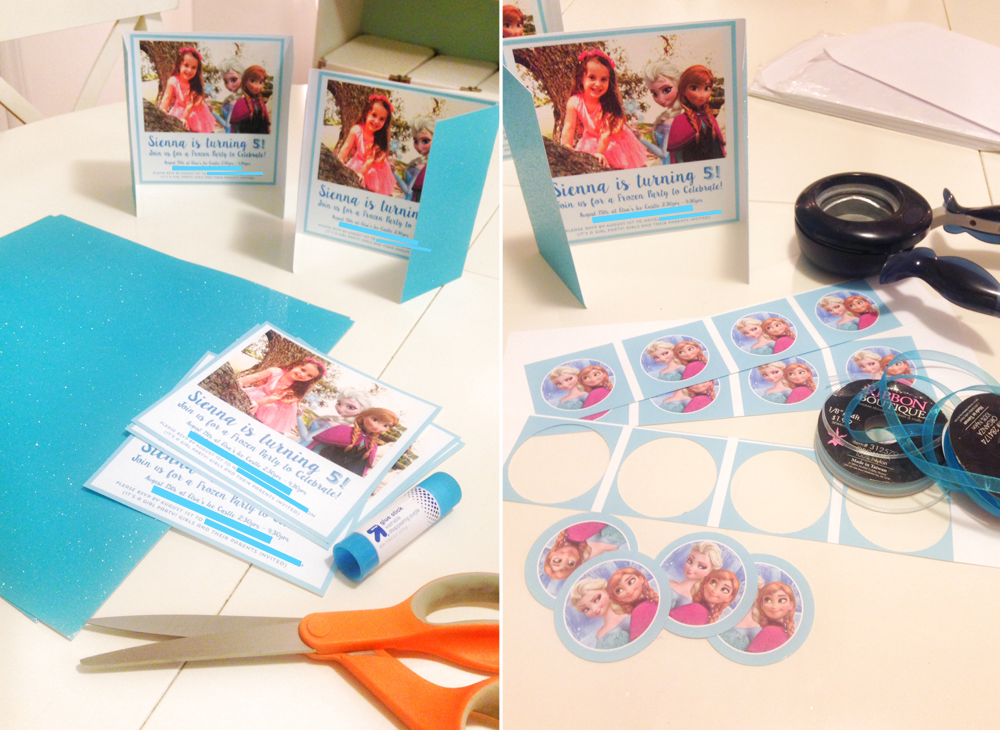
First you’ll need your supplies!
+Mini snowballs and snowflakes. Each $1.99 a bag (HOBBY LOBBY)
+Two different shades of blue ribbon(HOBBY LOBBY)
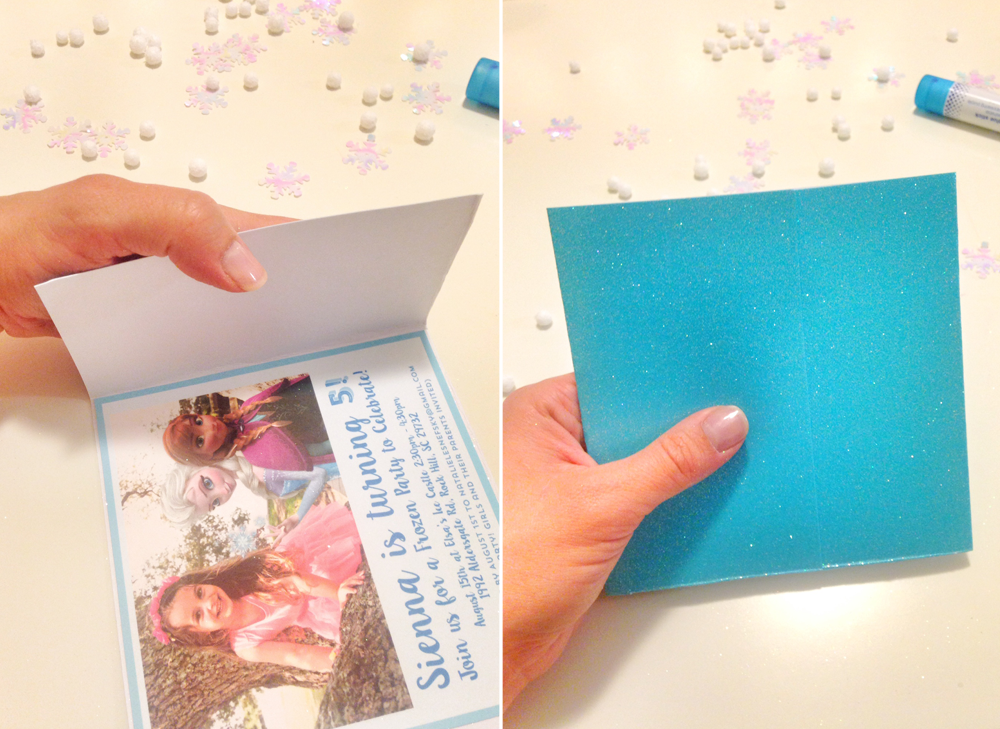
+Glittery blue card stock (1 sheet per 2 invites)
“1545 swimming pool – sugar coated card stock” (on sale-HOBBY LOBBY)
+Scissors
+Glue stick
+Craft puncher
+Envelopes (I found mine at Target)
(if you have one..makes it easier!
They always on sale at craft stores + use coupon!)
+I designed in photoshop and printed the main invite and circle labels on card stock paper.
I thought you might find the circle labels fun to have so I
have them available to download for free below!
FREE DOWNLOAD – Elsa + Anna Circle Printable PDF
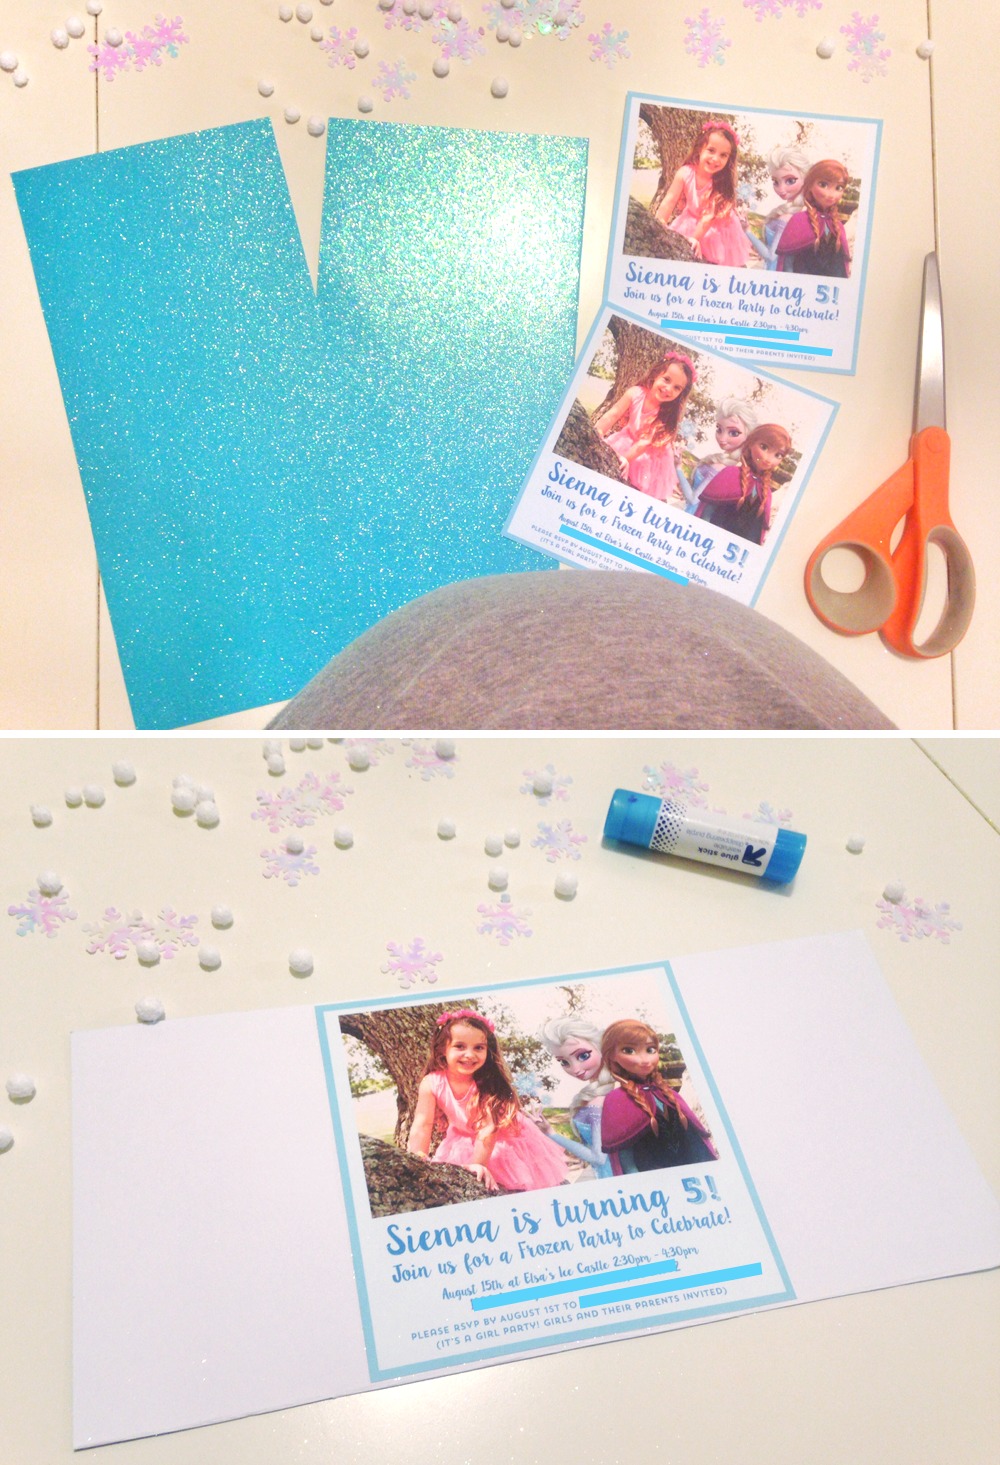
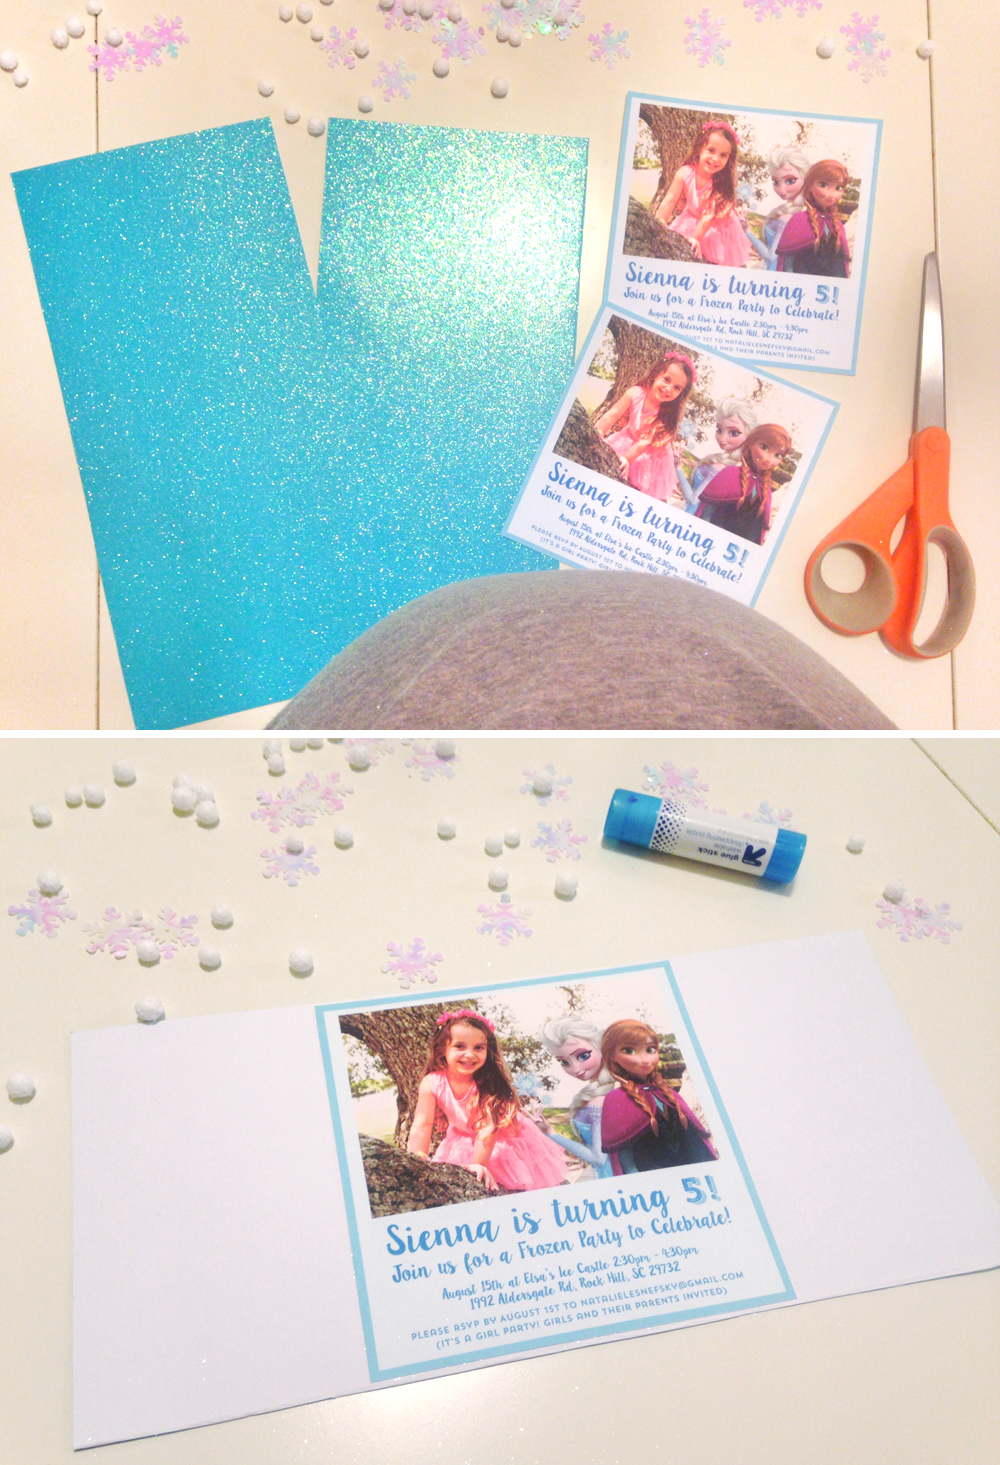
STEP ONE:
Take your glittery blue card stock and trim off an inch at bottom…
mainly trying to remove the price printed on back.
Then fold in half….and cut down the middle. Each card stock should give you two invites.
You want to use a glue stick to place the invite photo in the middle( more or less) of the card stock so
you can fold in the sides. I eyeballed it. it’s a birthday invite not a wedding invitation… let it go.
ps. baby #4 is crashing the party.
STEP TWO: A trick to folding in the sides…bend it a bit..then run your fingernail a long the inside.
Folds much easier… You also want the “doors” to overlap a bit. It makes it cleaner looking rather than
having them just meet in the middle. This also helps the invite fit in the envelope easier!

Next up is to attach with ribbon the cute Elsa and Anna circles.
Sienna LOVED this part. She would be happy if their faces were on EVERYTHING.
Like I said above, I have a craft puncher..so I just cut them that way.
You could always use scissors…but a craft punch is a super useful craft tool to have! stock up!
I have a few sizes and shapes and use them a lot.
I used the tip of the scissors to poke a hole at the top…
then strung two ribbons at the same time through the hole.
Close the invite and place the circle in the middle…
Flip over and tie the ribbon in the back. You can get fancy and do a bow.. I just went with a knot!

And you’re done! Expect glitter everywhere.
You’ll go to wash your face before bed and it’ll be all over you. Elsa would be proud.
Hope this is helpful for anyone planning a Frozen themed party!
I’m loving getting the details together for Sienna’s 5th birthday.
I’ll post more of the DIY details as they come together!
Follow a long on Instagram for shares as well as signing up for
the newsletter for more party updates and tutorials!
Ashlyn
July 24, 2015 at 1:59 pmI love the blue glitter card stock! It’s like that was made specifically for a Frozen theme lol! I think that’s such a neat idea to Photoshop Elsa and Anna into Sienna’s picture like that. I need to start planning my daughter’s 1st birthday party and I think I’ll adopt that technique. Great job, Natalie!
Bridget
August 6, 2016 at 5:03 pmI hope you see this. I know this is from last year but i have a quick question. What did you do with the mini snow balls and snow flakes? Maybe i kissed it or didnt see what you did with them. Lol. Did you just put them loose in the envelope?
natalie
August 18, 2016 at 3:13 pmyes! I had them loose in the envelopes with the invite! :)