

I remember being a little girl, sitting on my floor, creating a whole little village of yarn dolls!
This was a craft I knew I wanted to teach my girls to do this summer.
I grabbed some yarn at the store this week and the next day, during Hunter’s
nap time, Sophia and I sat on the floor and crafted and giggled away!
If you’re looking for an activity to do with your kids that doesn’t take much supplies – this is it!
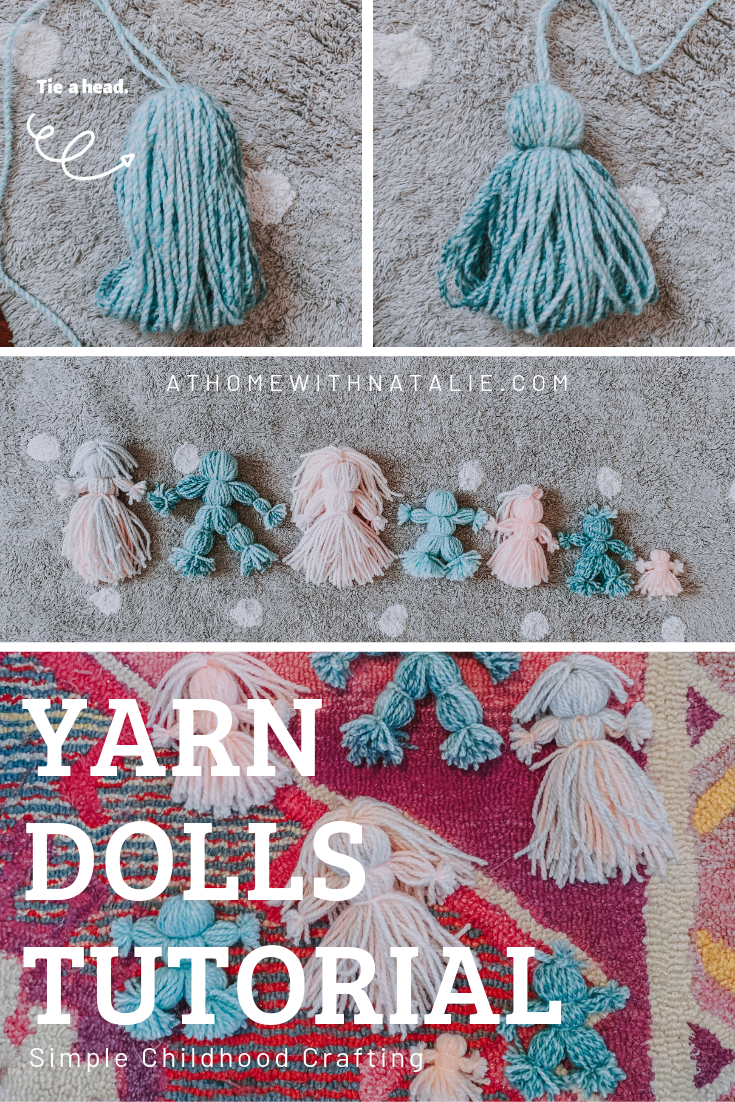
Here’s our Yarn Dolls Tutorial!
If you can wrap yarn… cut and tie… you can whip up some yarn dolls!
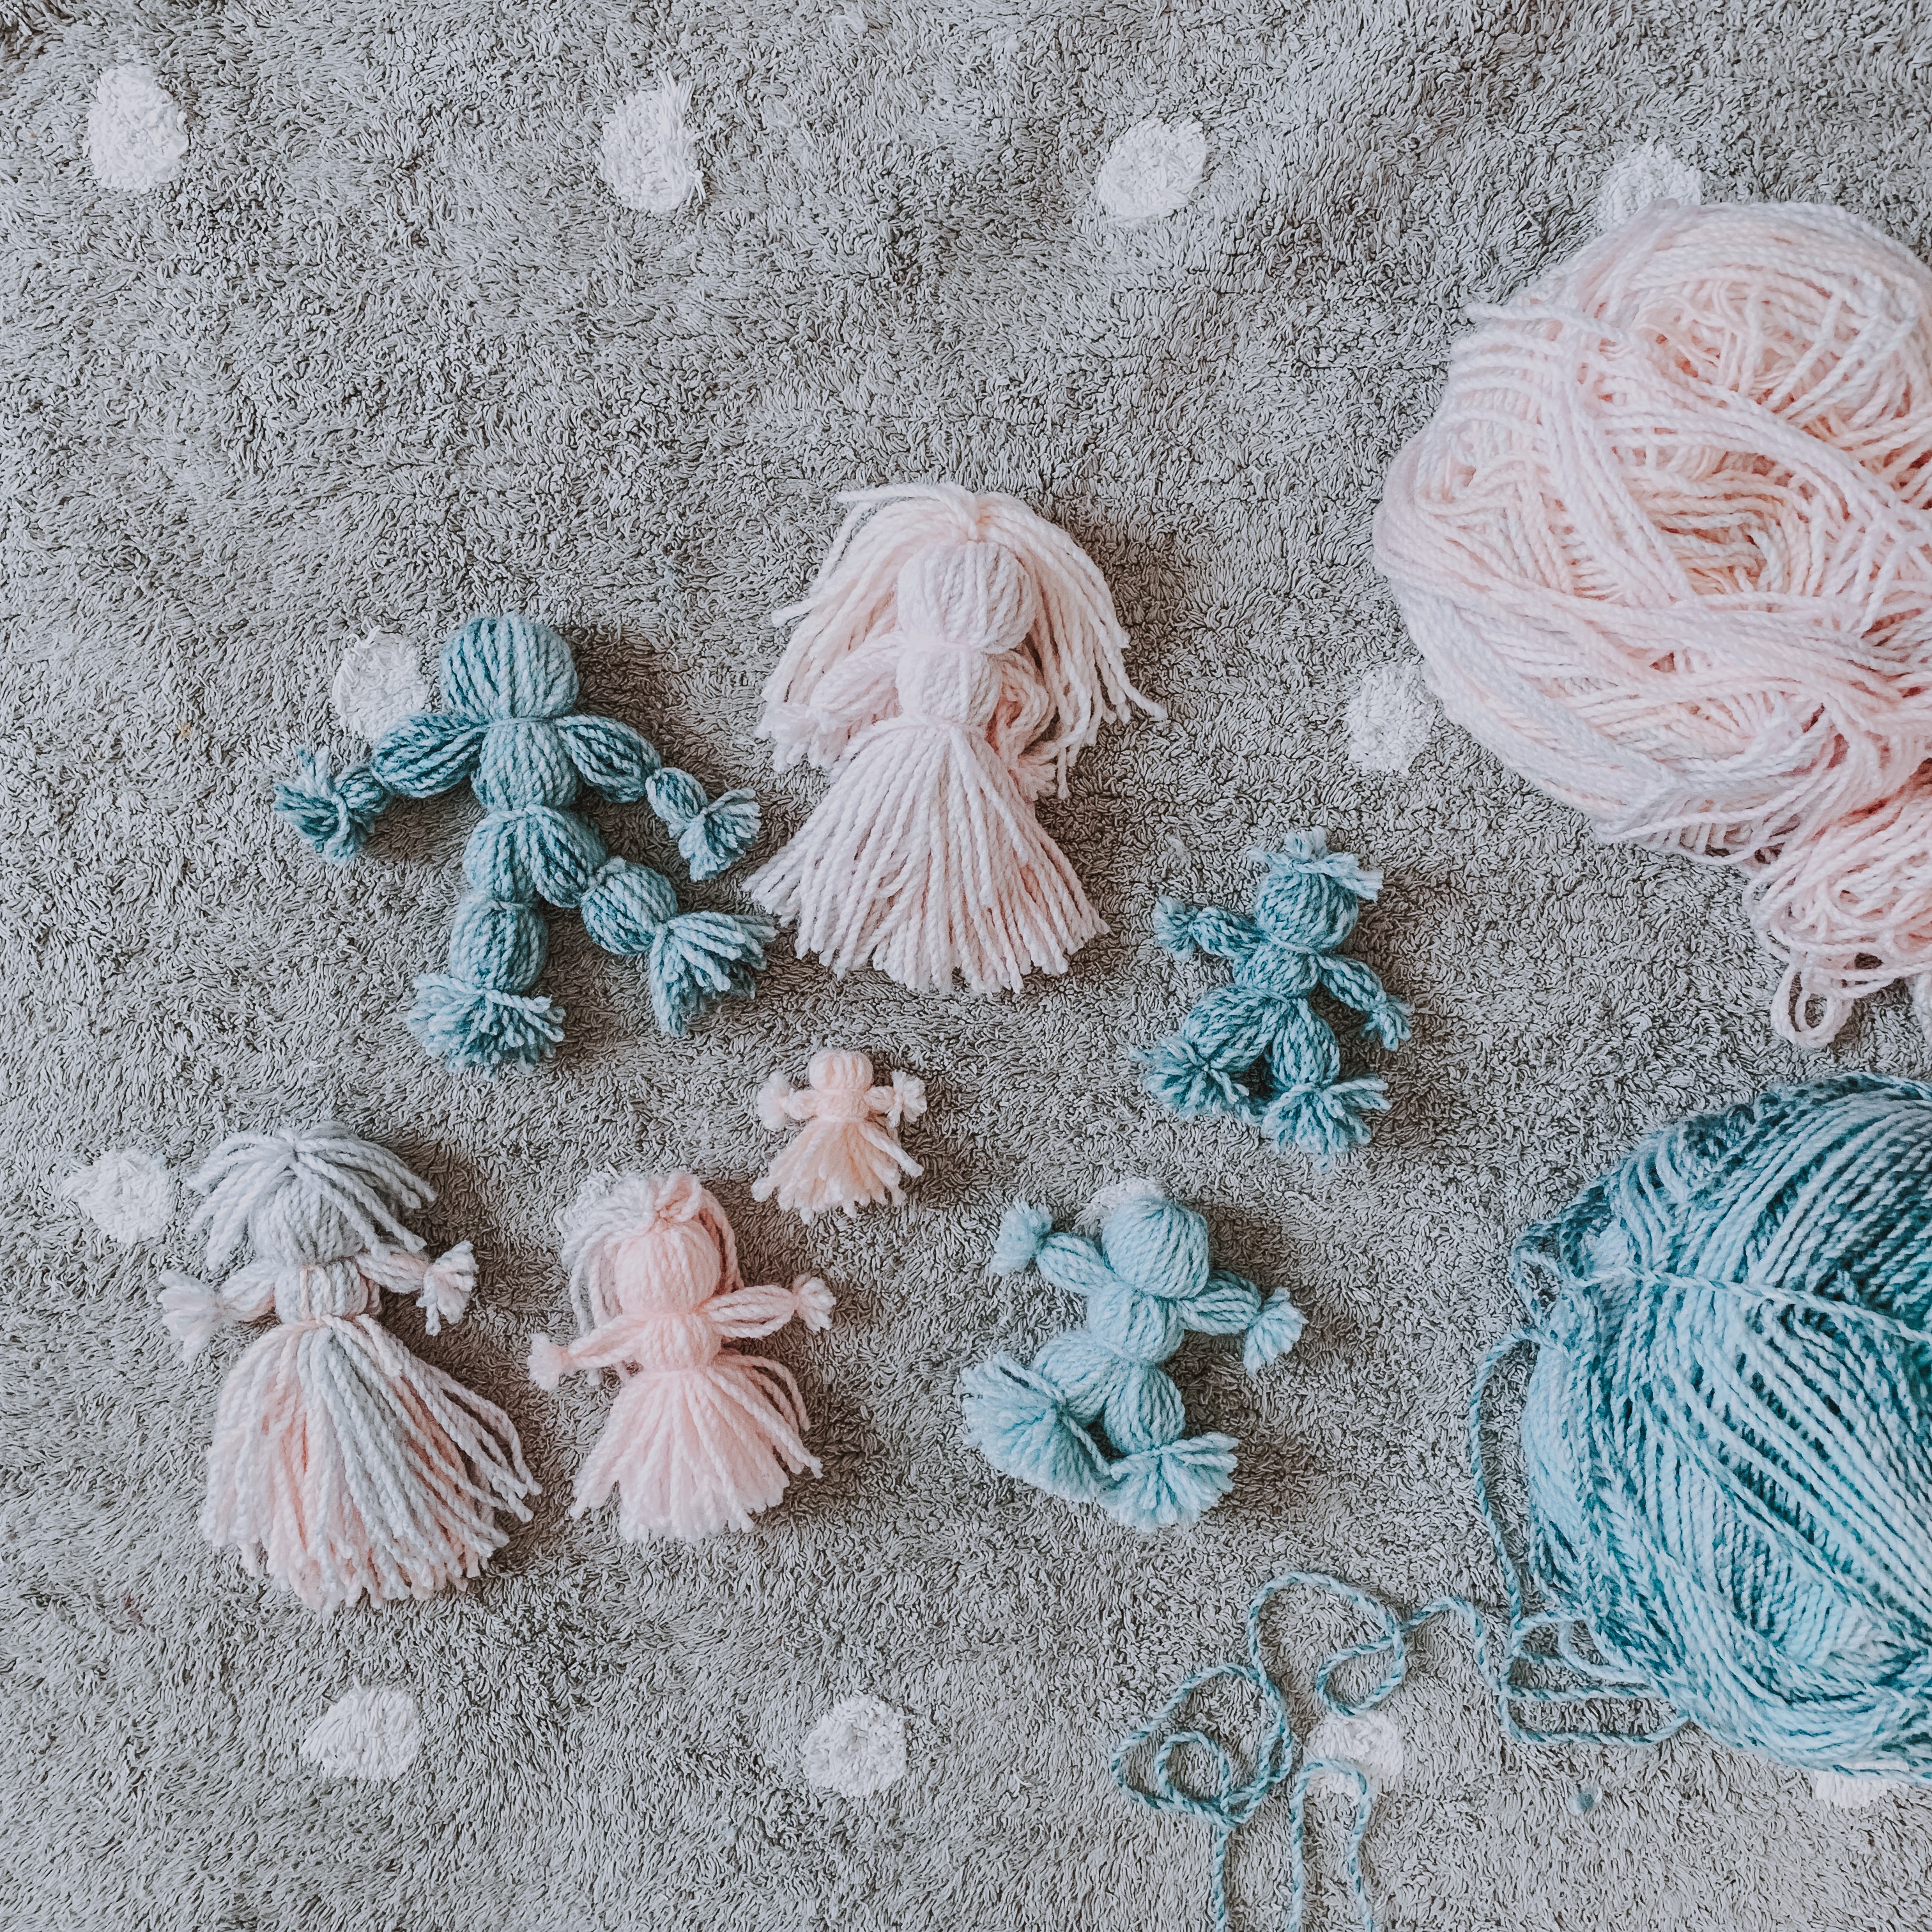
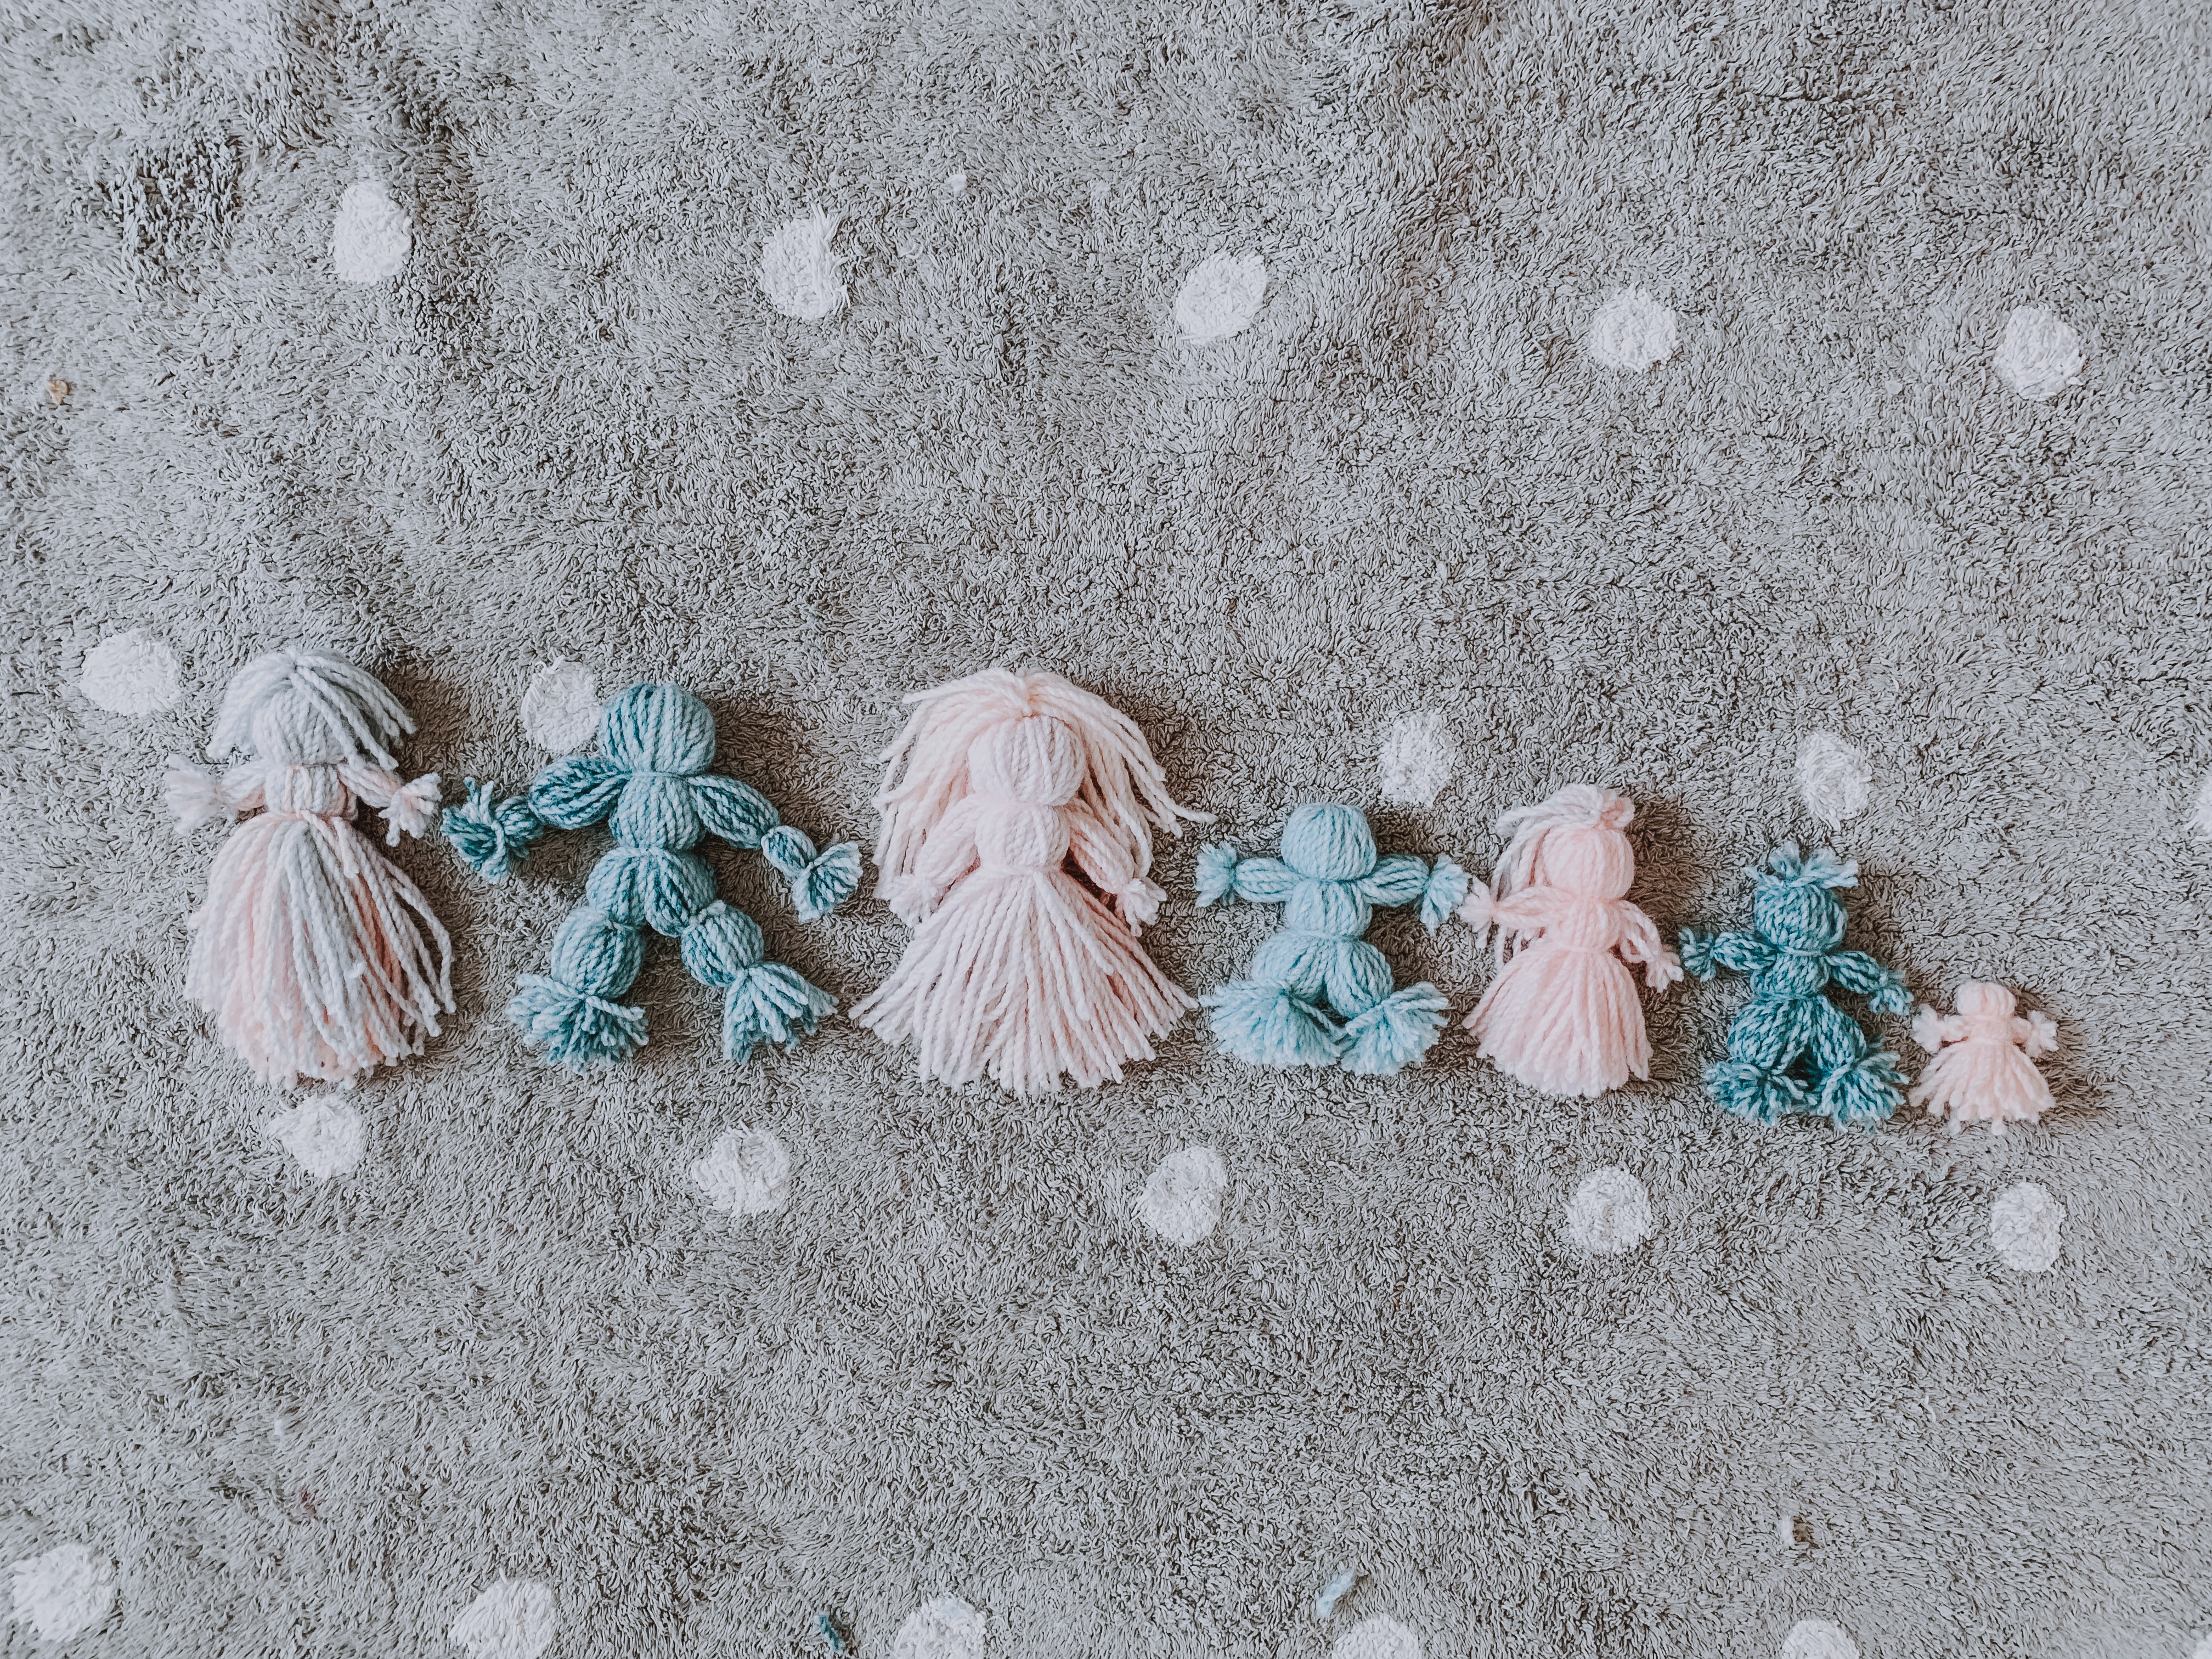
We ended up making a pretty sweet little fam.
Even Grandma showed up. We still need to make Grandpa! ;)
Loved sharing this craft with my Sophia.
She’s the one that thought of making the tiny little baby! So cute.
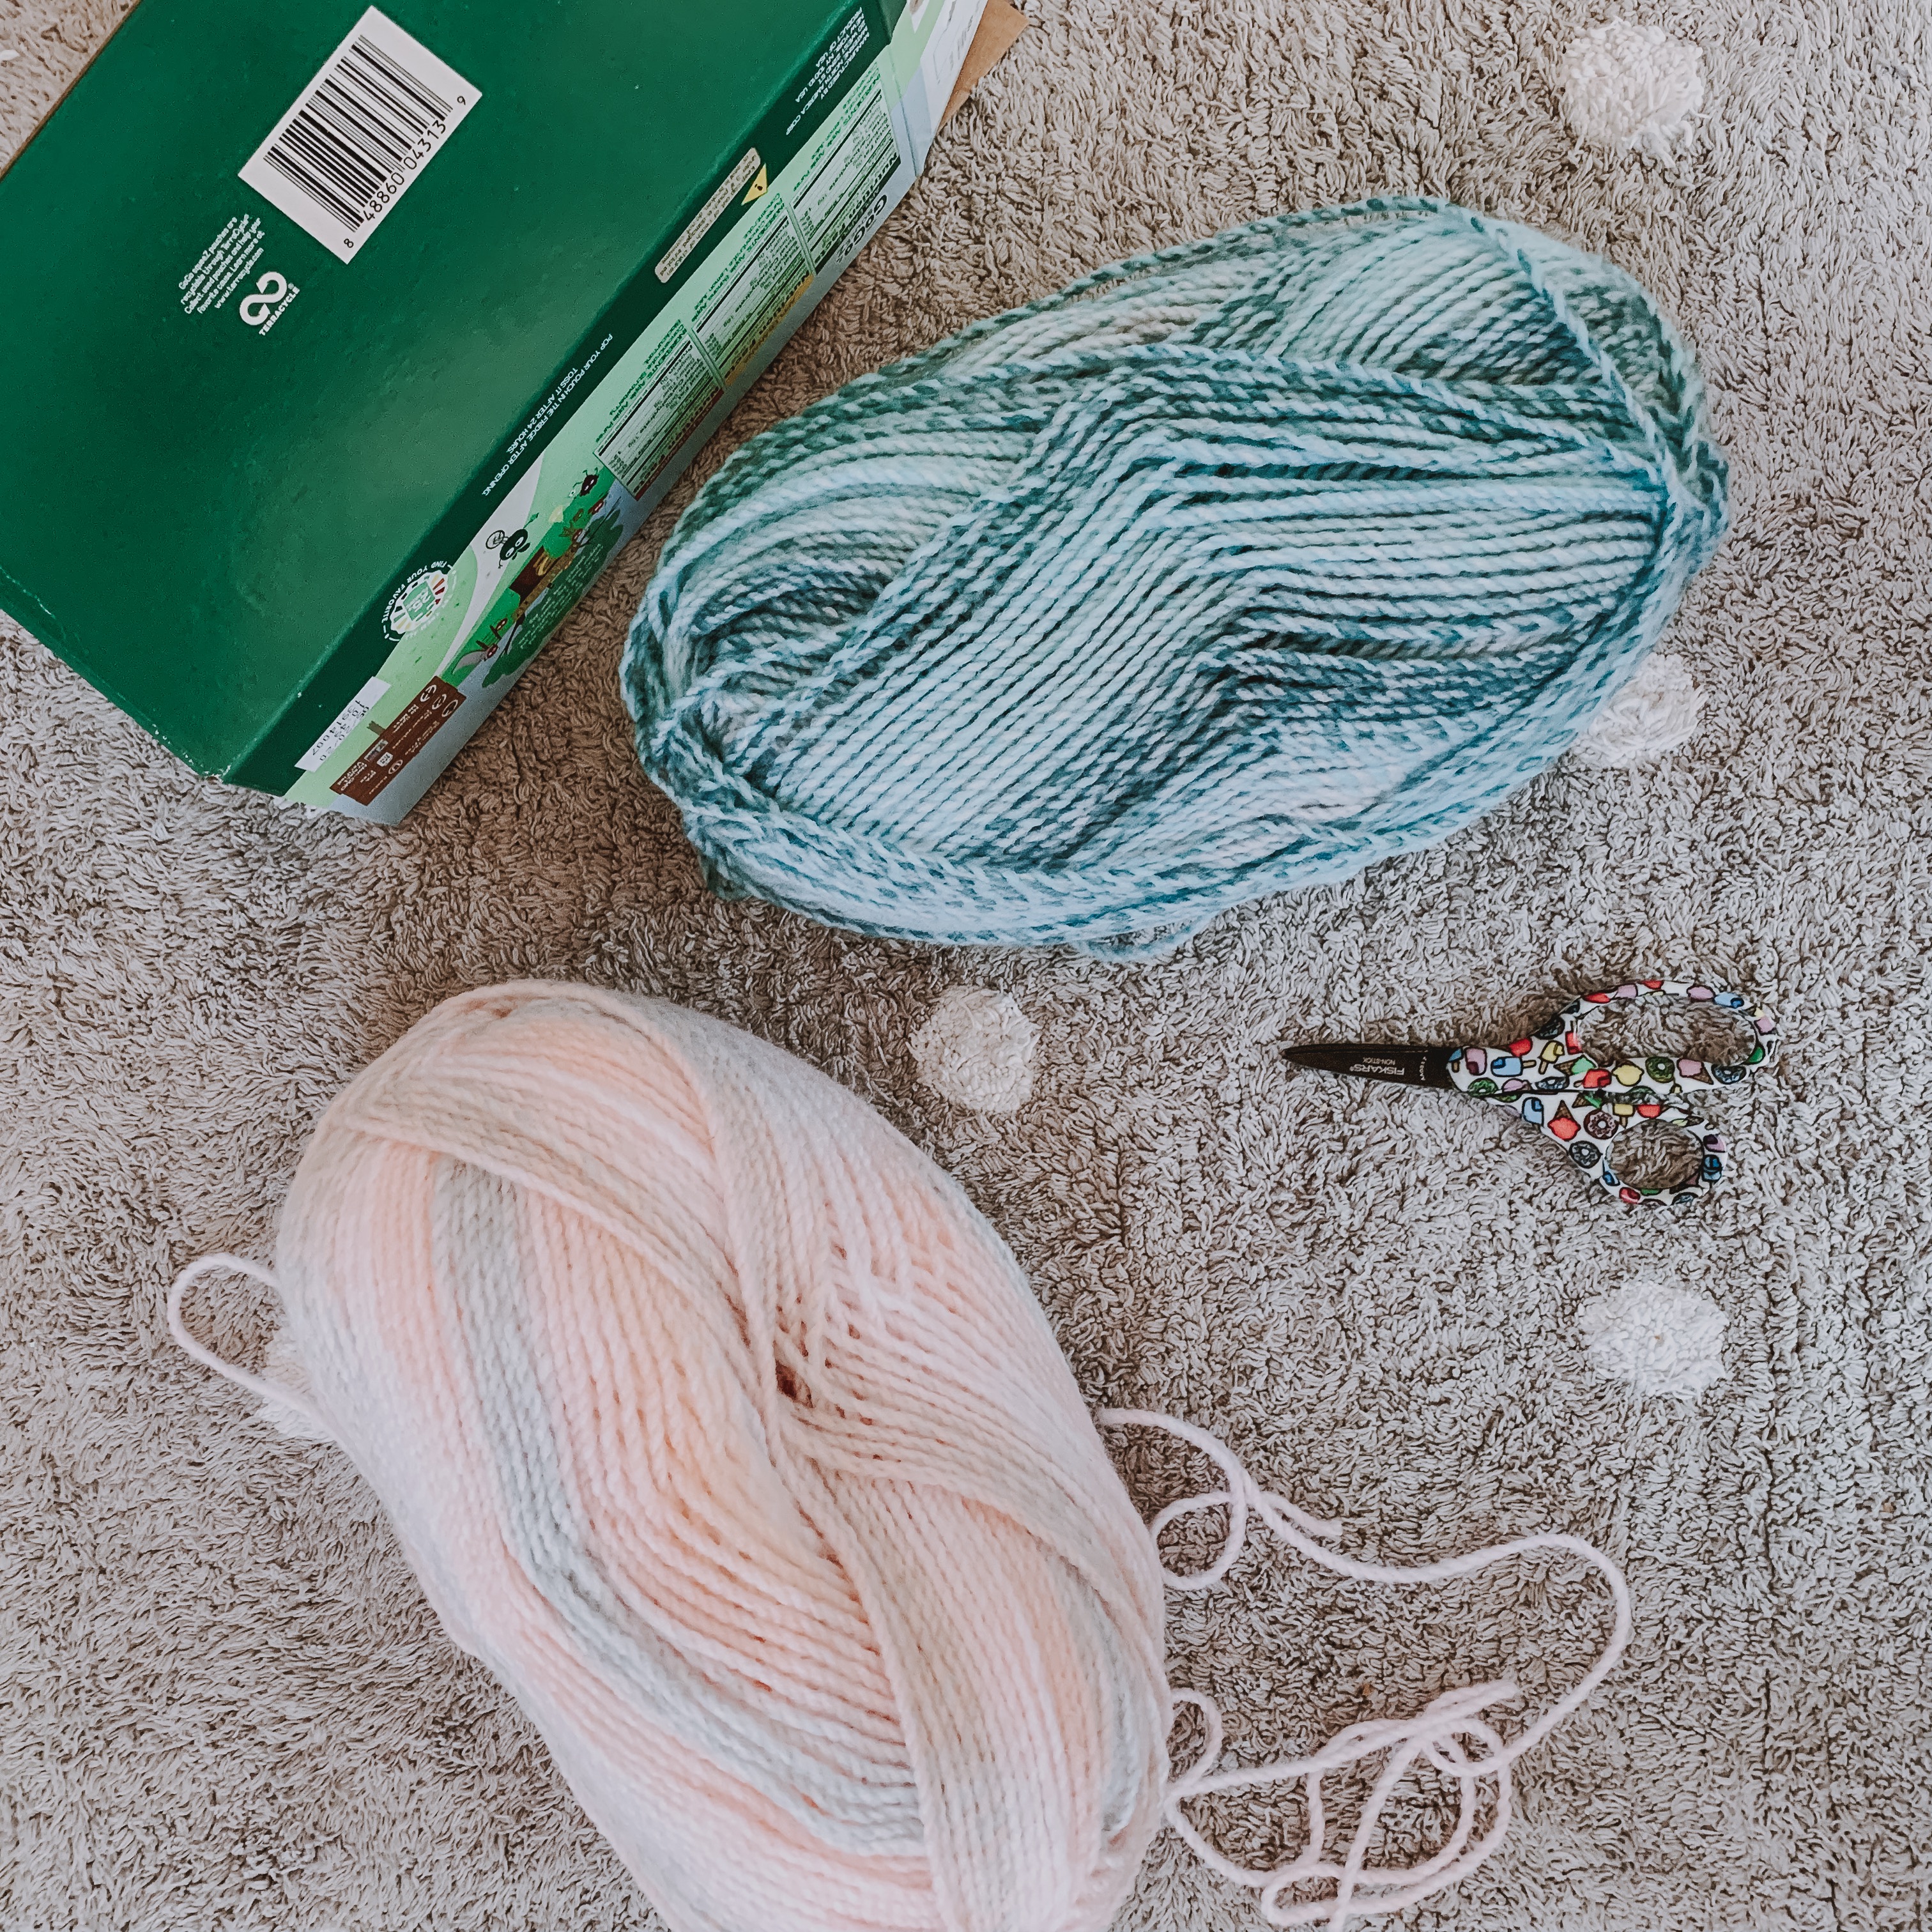
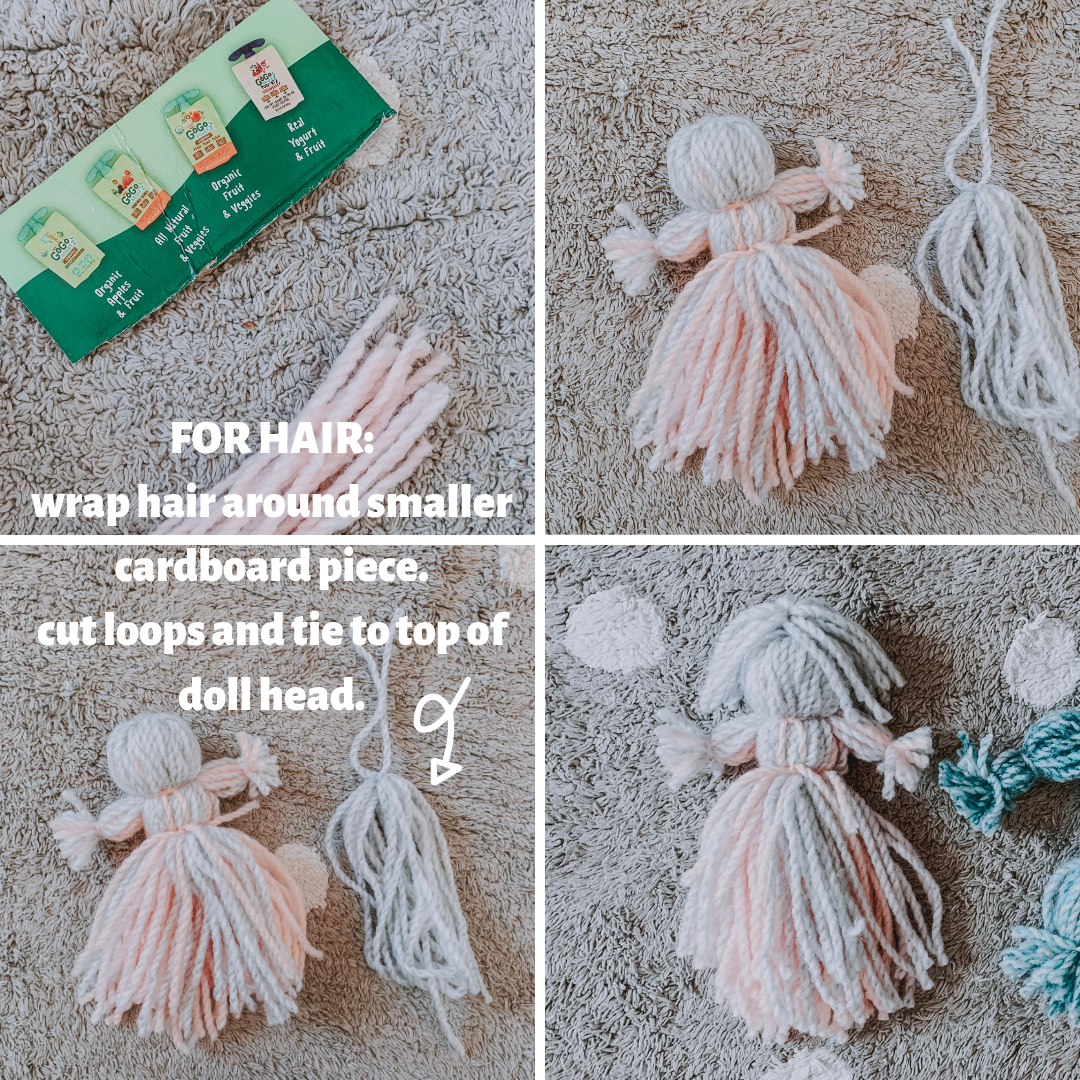
SUPPLIES:
1. Yarn. ( I like getting the variegated ones so you can end
up with different colorings with the same skein of yarn! These were from Walmart.)
2. Cardboard. (We used applesauce pouch box.)
3. Scissors.
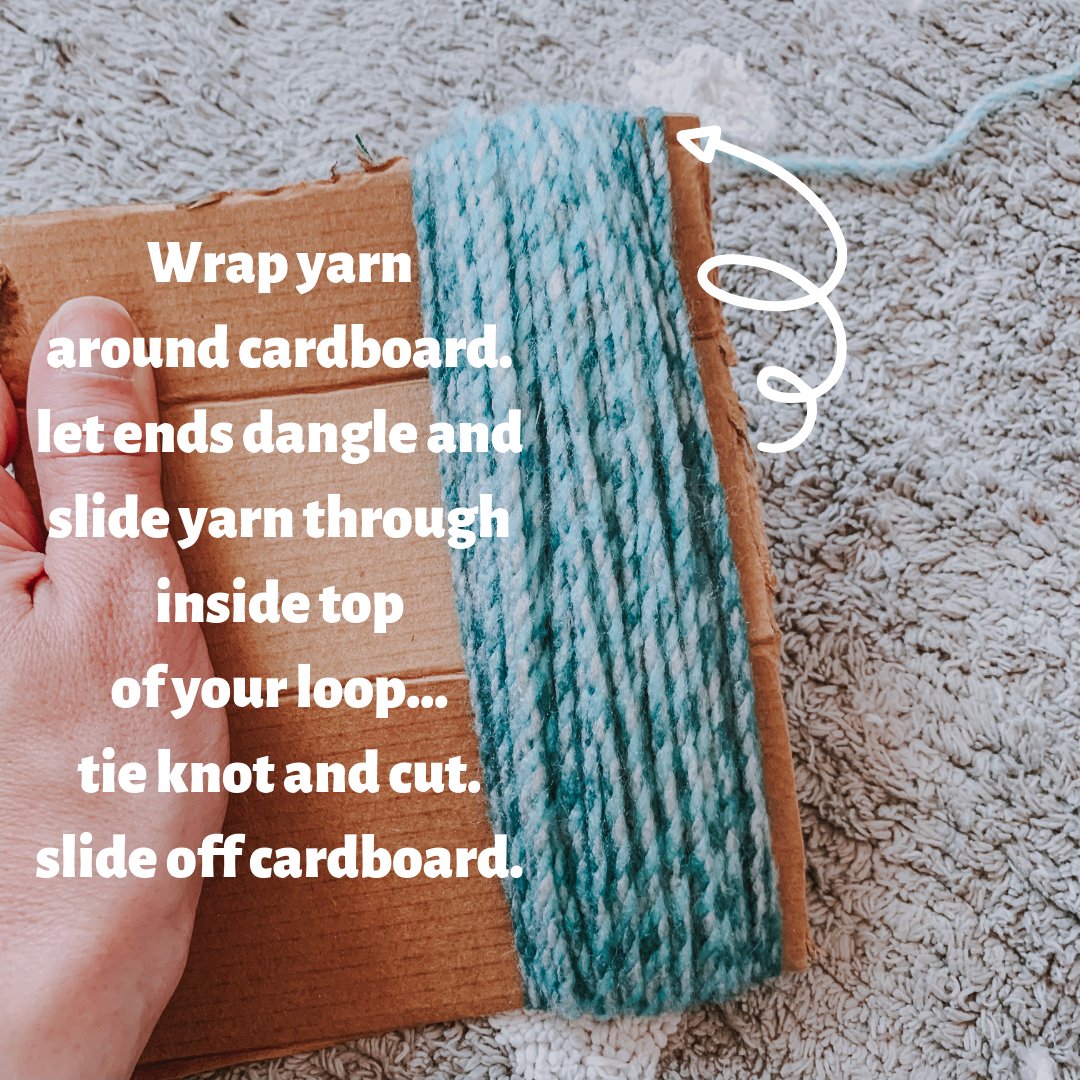
STEP ONE:
Cut cardboard to the general height you want your dolls. (they shrink a little when you tie them all up.)
Wrap yarn around the cardboard 10 times for every inch in height.
So our cardboard was around 7 inches so we did it 70 times.
Once all wrapped around- let ends of yarn dangle on same end and cut.
Cut a piece of yarn and slide through inside top of your loop.
Tie knot and cut.
Slide off cardboard.
STEP TWO:
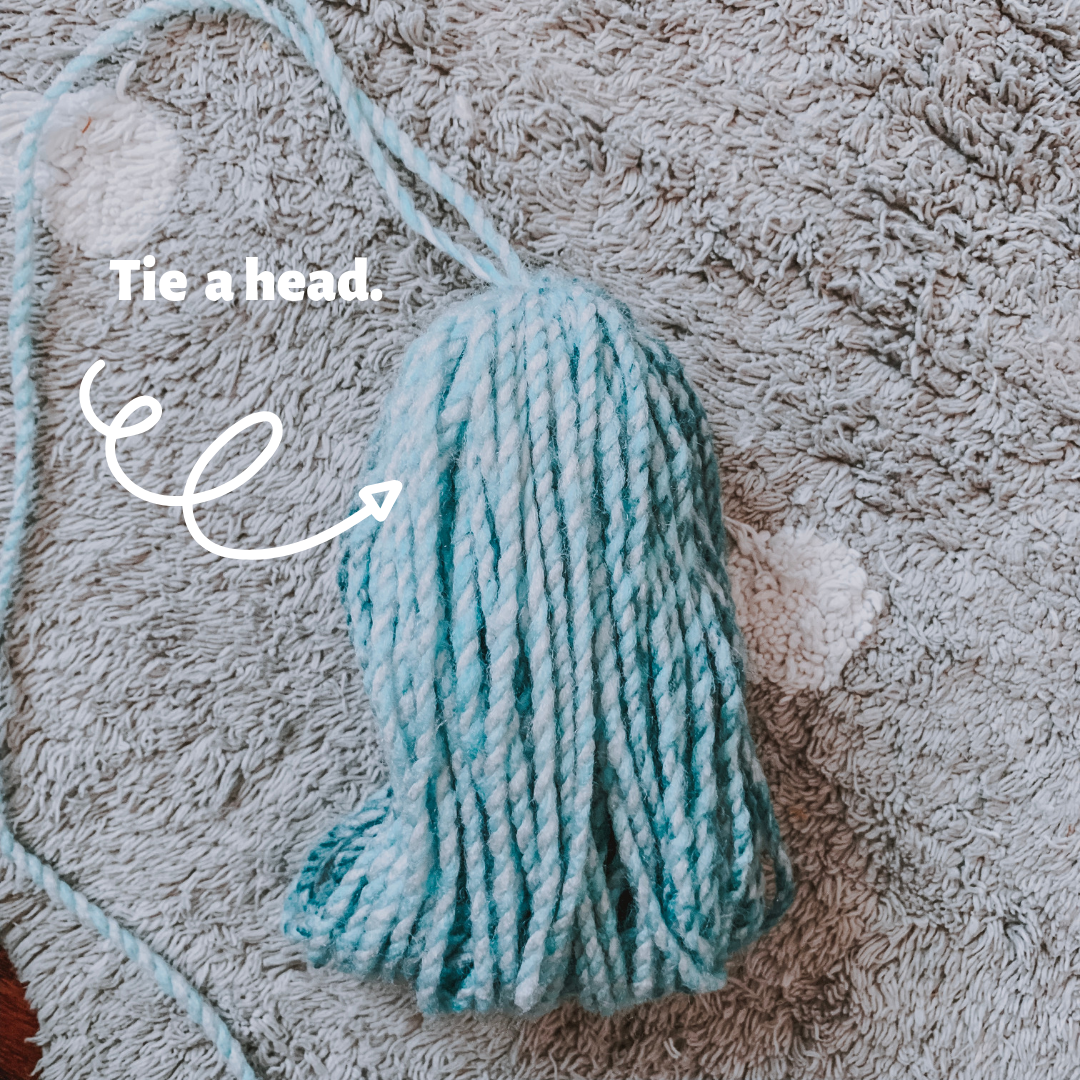
Tie a head.
(this one we left the original yarn at the top but
normally we pull it down with the other yarn and trim.)
STEP THREE:
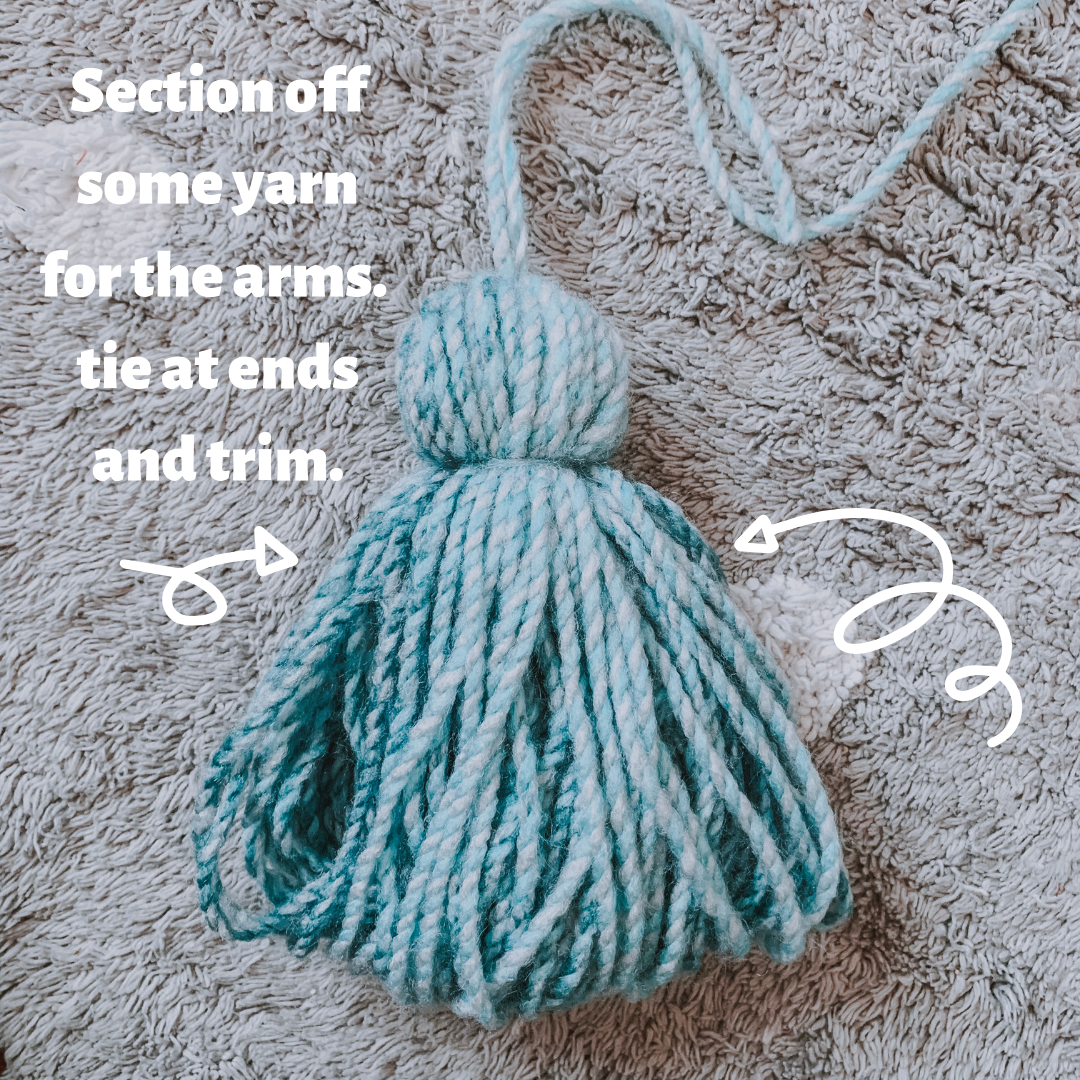
Section off some yarn on either side for the arms.
I kind of gather them together on each side and pull it…
to make sure they look even. then cut the loops on their ends…
cut them to the length I want for the arms, and tie!
STEP FOUR:
Tie a waist!
For the girls in dresses I got a little higher up and
the boys usually a little lower.

STEP FIVE:
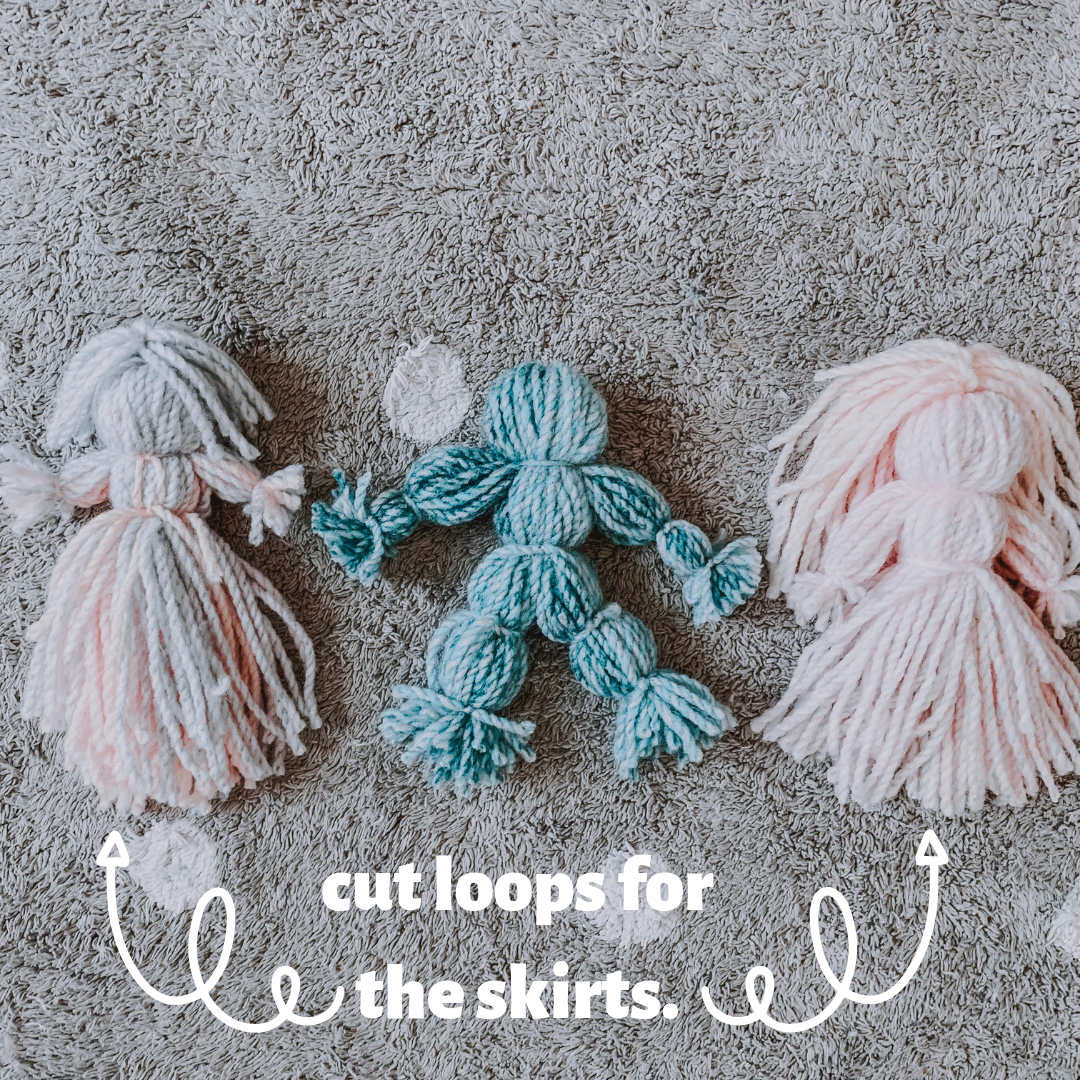
Cut loops at the end to make skirts!
STEP SIX:
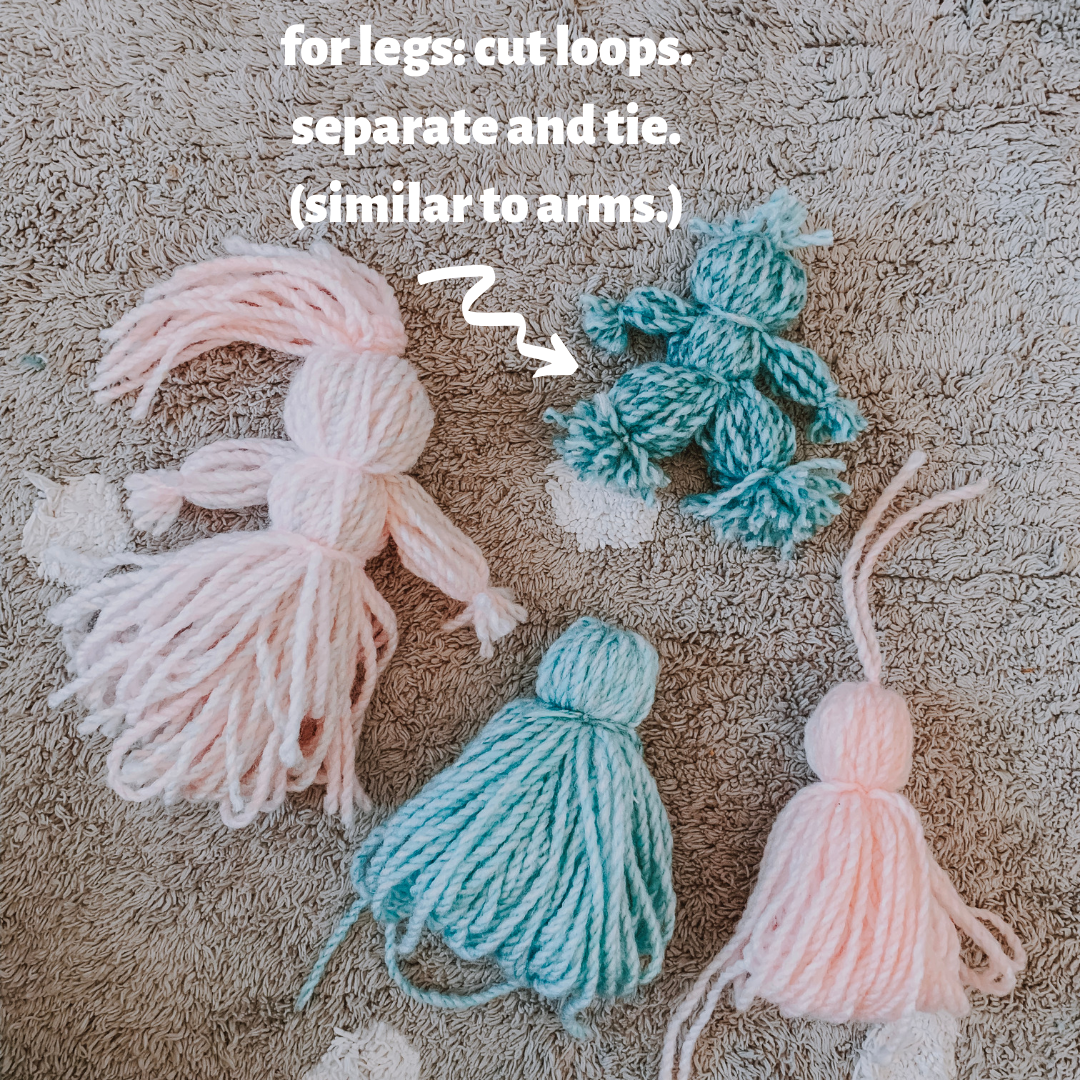
For legs, it’s similar to the arms…
just separate… cut loops…cut to size… and tie!
For hair we did a mini version of a doll body…
(just wrapping around til we got the thickness we wanted!)
Then we attached it to the string at the top of the head.
You could braid… trim to be a shorter cut.. have fun with it!
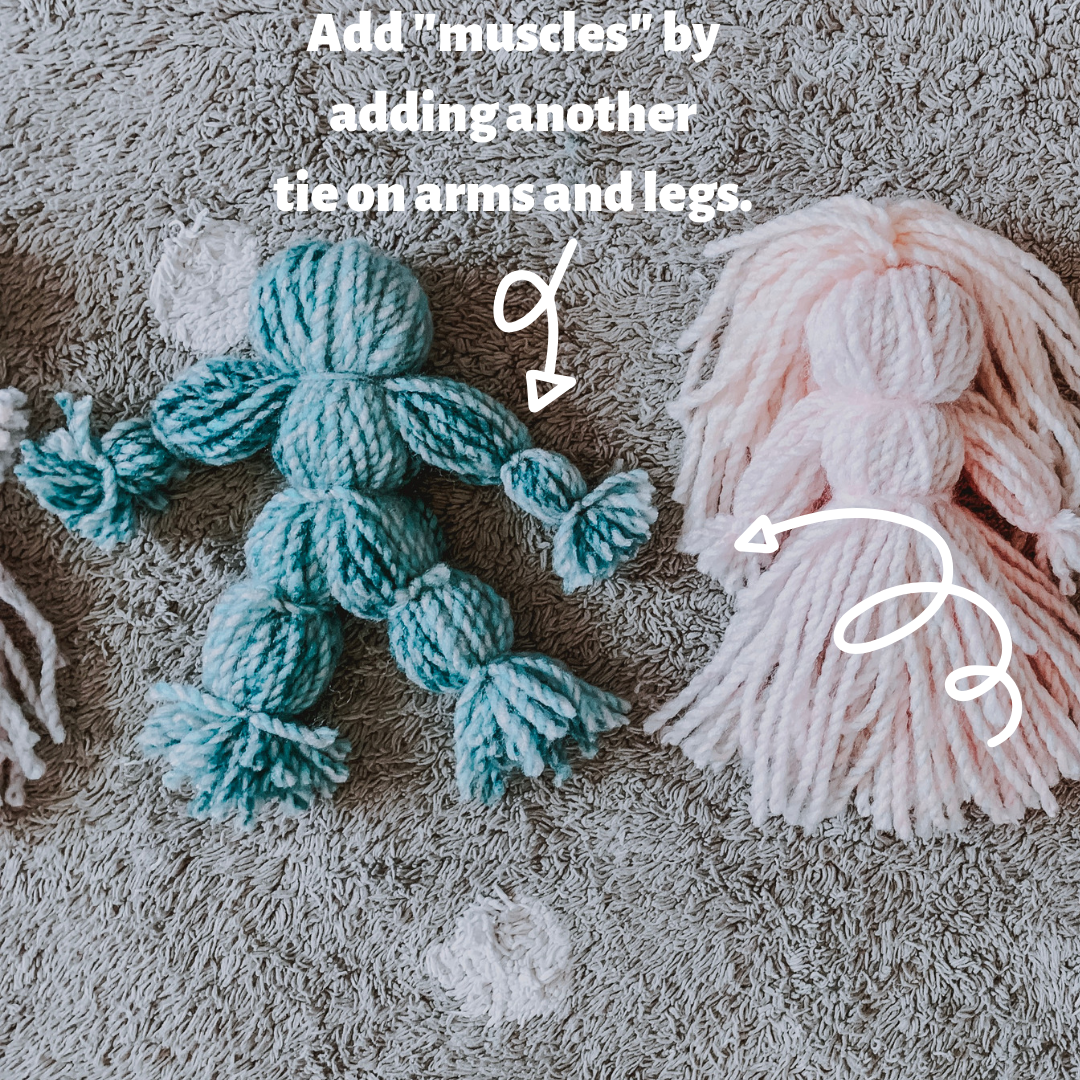
For the dad (BEN) We added some muscles by
just tying another string on the arms and legs.
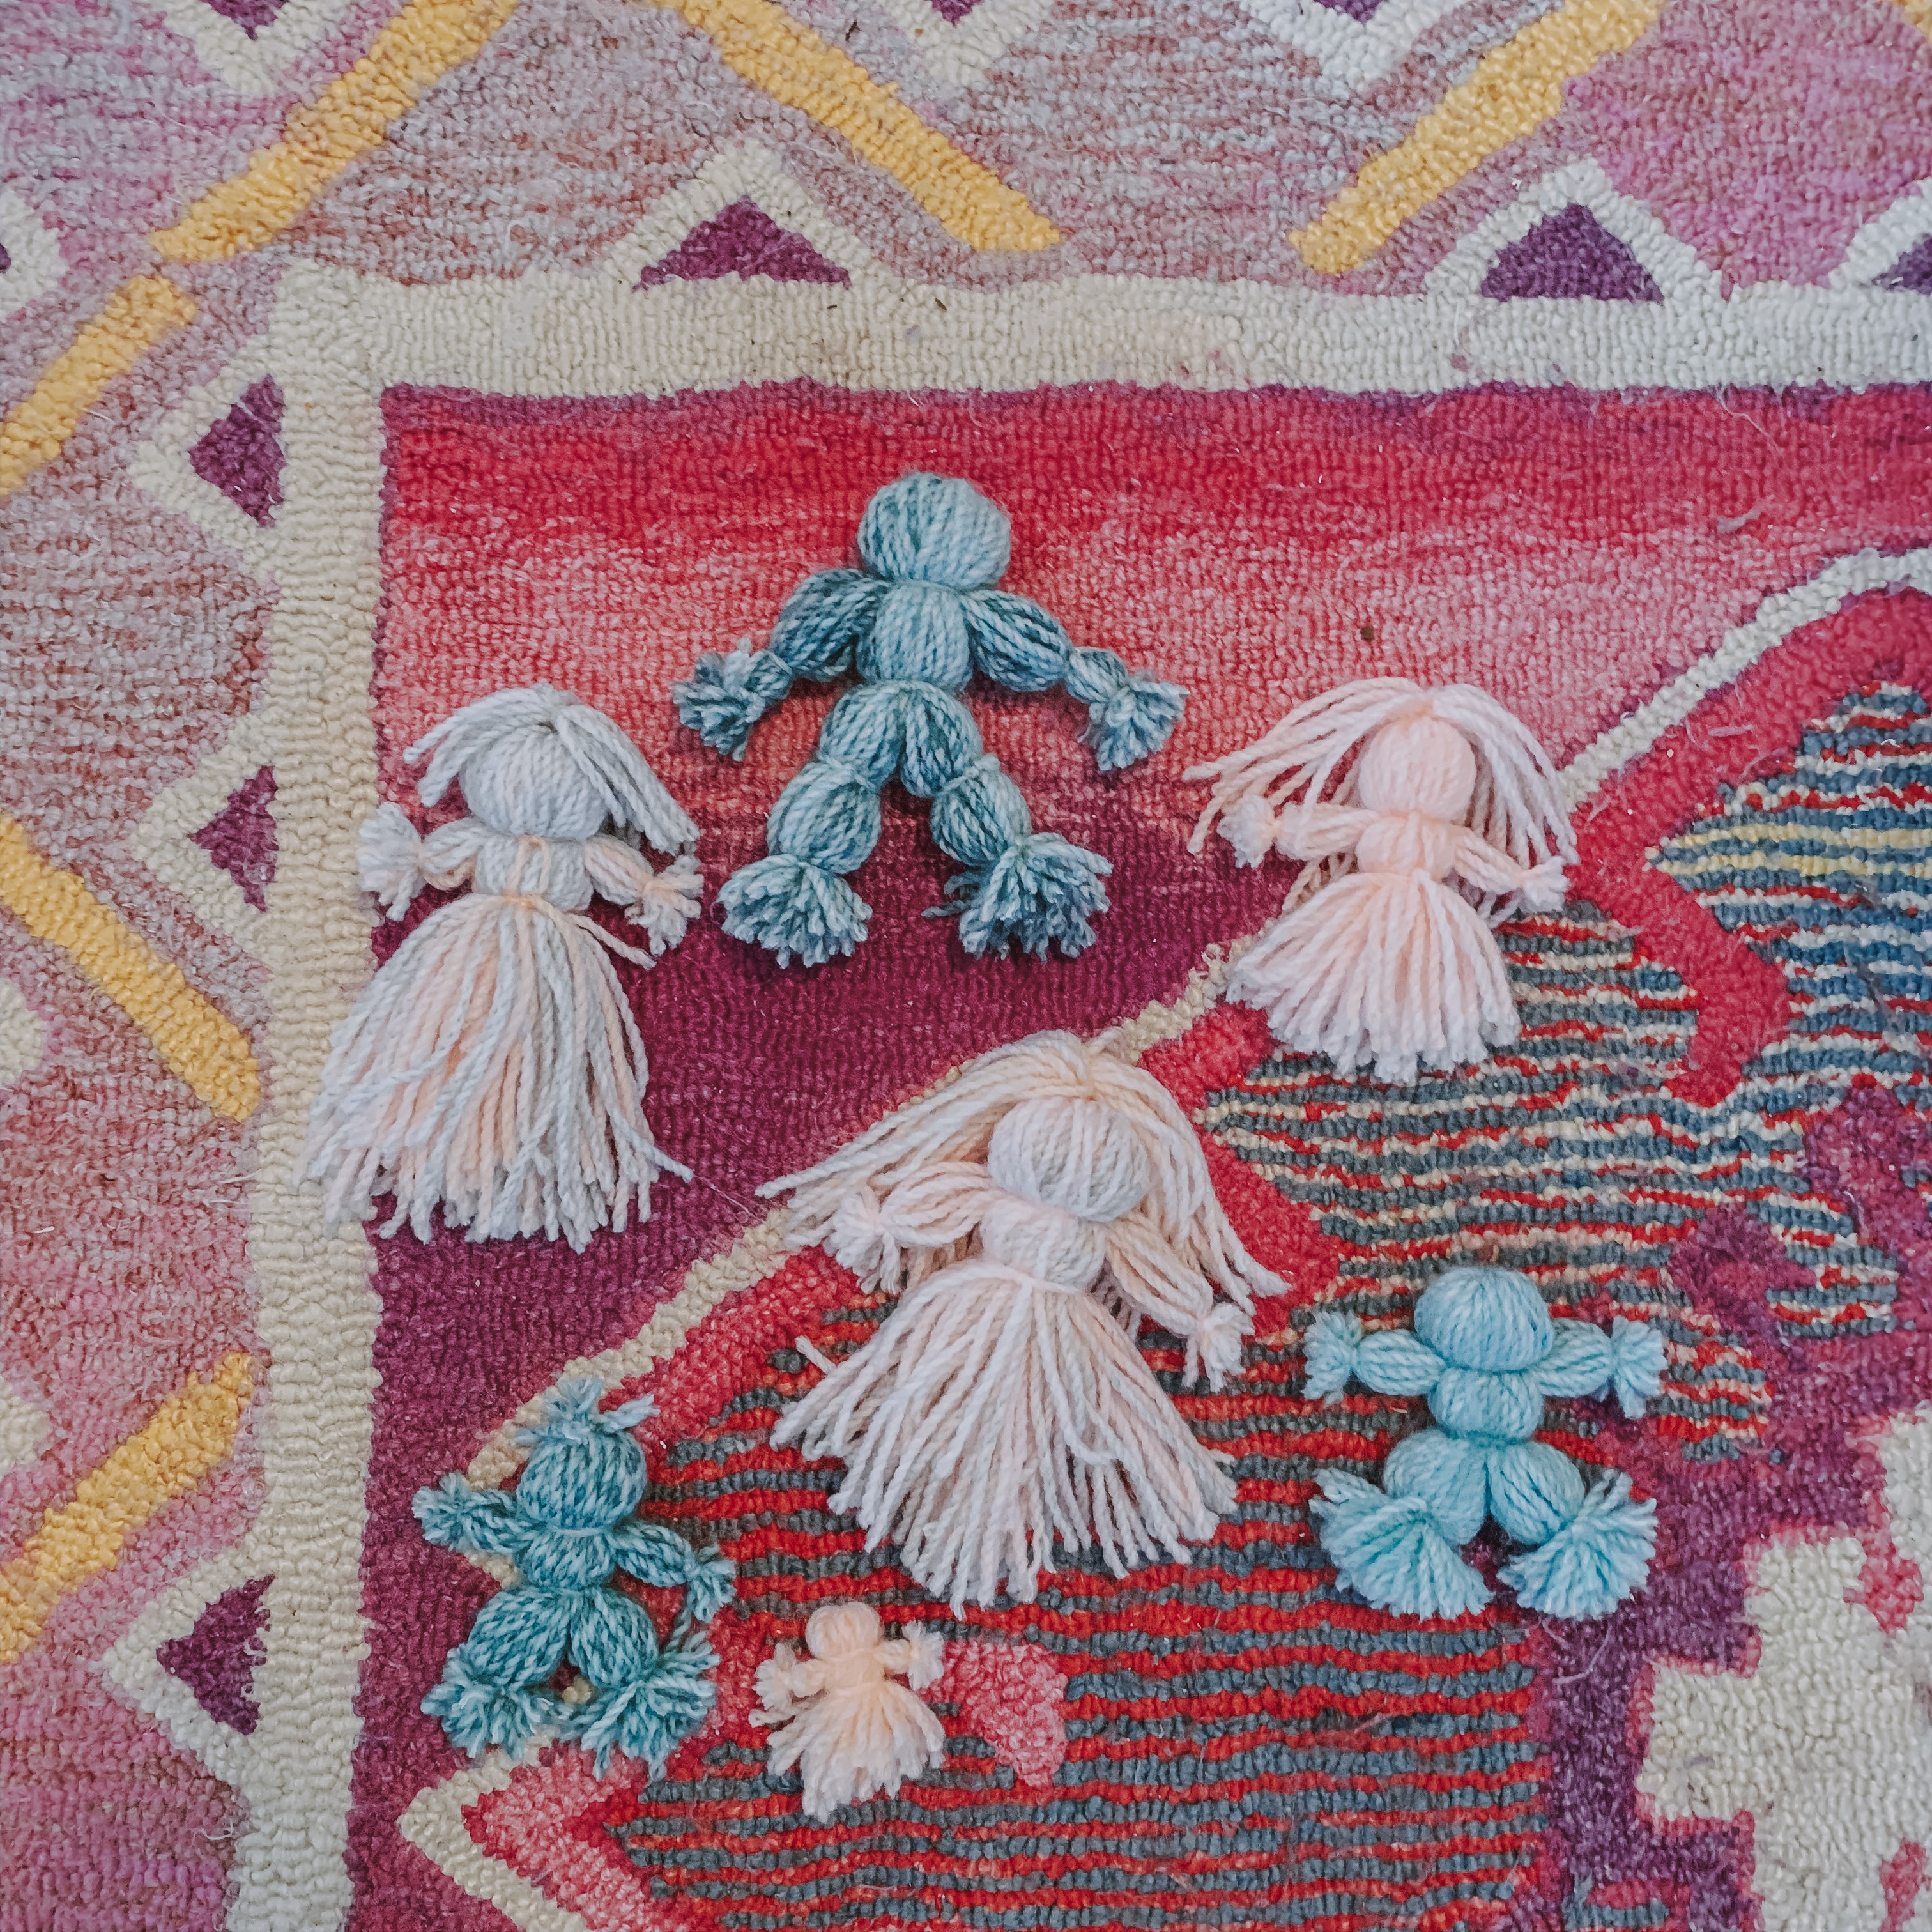
Meet our family! Grandma, mom and dad and their four cute kids.
Sophia has big plans though for her whole little village. ;)
I love how craft time like this fosters such great conversations and time to connect.
Working with your hands, laughing, sharing and getting creative!
I hope you make some yarn dolls with your kids!
If you do be sure to tag us on Instagram I know Sophia would FLIP over it!
@athomewithnatalie
Paige Cassandra Flamm
August 2, 2019 at 12:19 amThese are so cute! I want to make them with my little girl!
Paige
http://thehappyflammily.com
Jacqueline Craig
August 5, 2019 at 5:02 pmSo cute! I came on to leave a reply on your Paw Patrol post but it doesn’t let me comment? Anyway I made them and they are so cute! I have one delighted three year old (and secretly delighted 9 year old too!) Thanks for the printables I loosely used them for the vehicles and just free styled the tower but the idea was all yours. So good and great to try and avoid watching the pups and playing with them instead :D http://www.instagram.com/myguidetohomemade