

The kids LOVE playing in our play kitchen and I’m always adding to their little stash of play food.
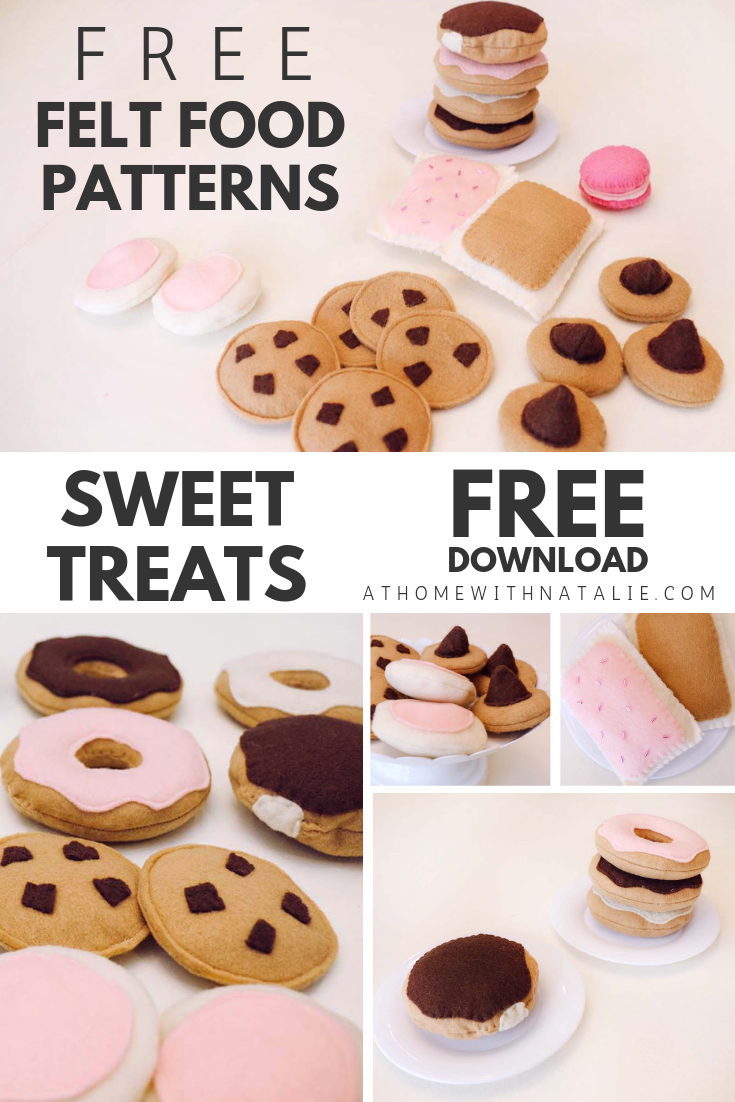
I made these felt sweet treats for them a while back but FINALLY got
around to getting the patterns available for you guys to download!! Woohoo!
PS. ARE YOU ON INSTAGRAM?? We are!
Follow the fam over on @athomewithnatalie
I’m always sharing home, organization, recipes, parties, crafts and family life over there daily!
Back to the felt! When I make felt food I sometimes do it on the sewing machine…
and sometimes just with hand stitch. It really just depends what I’m in the mood for.
Sofa crafting.. or kitchen table crafting. ;)
I’ve included patterns for both because they are just a tad
different depending which way you choose to whip them up.
I hope you print out the patterns, grab some felt at Michael’s and give them a go!
Print full size… cut and use to trace your felt to the right size!
THEN, you’ll get the idea of it and can even
work up your own little creations. Have fun!
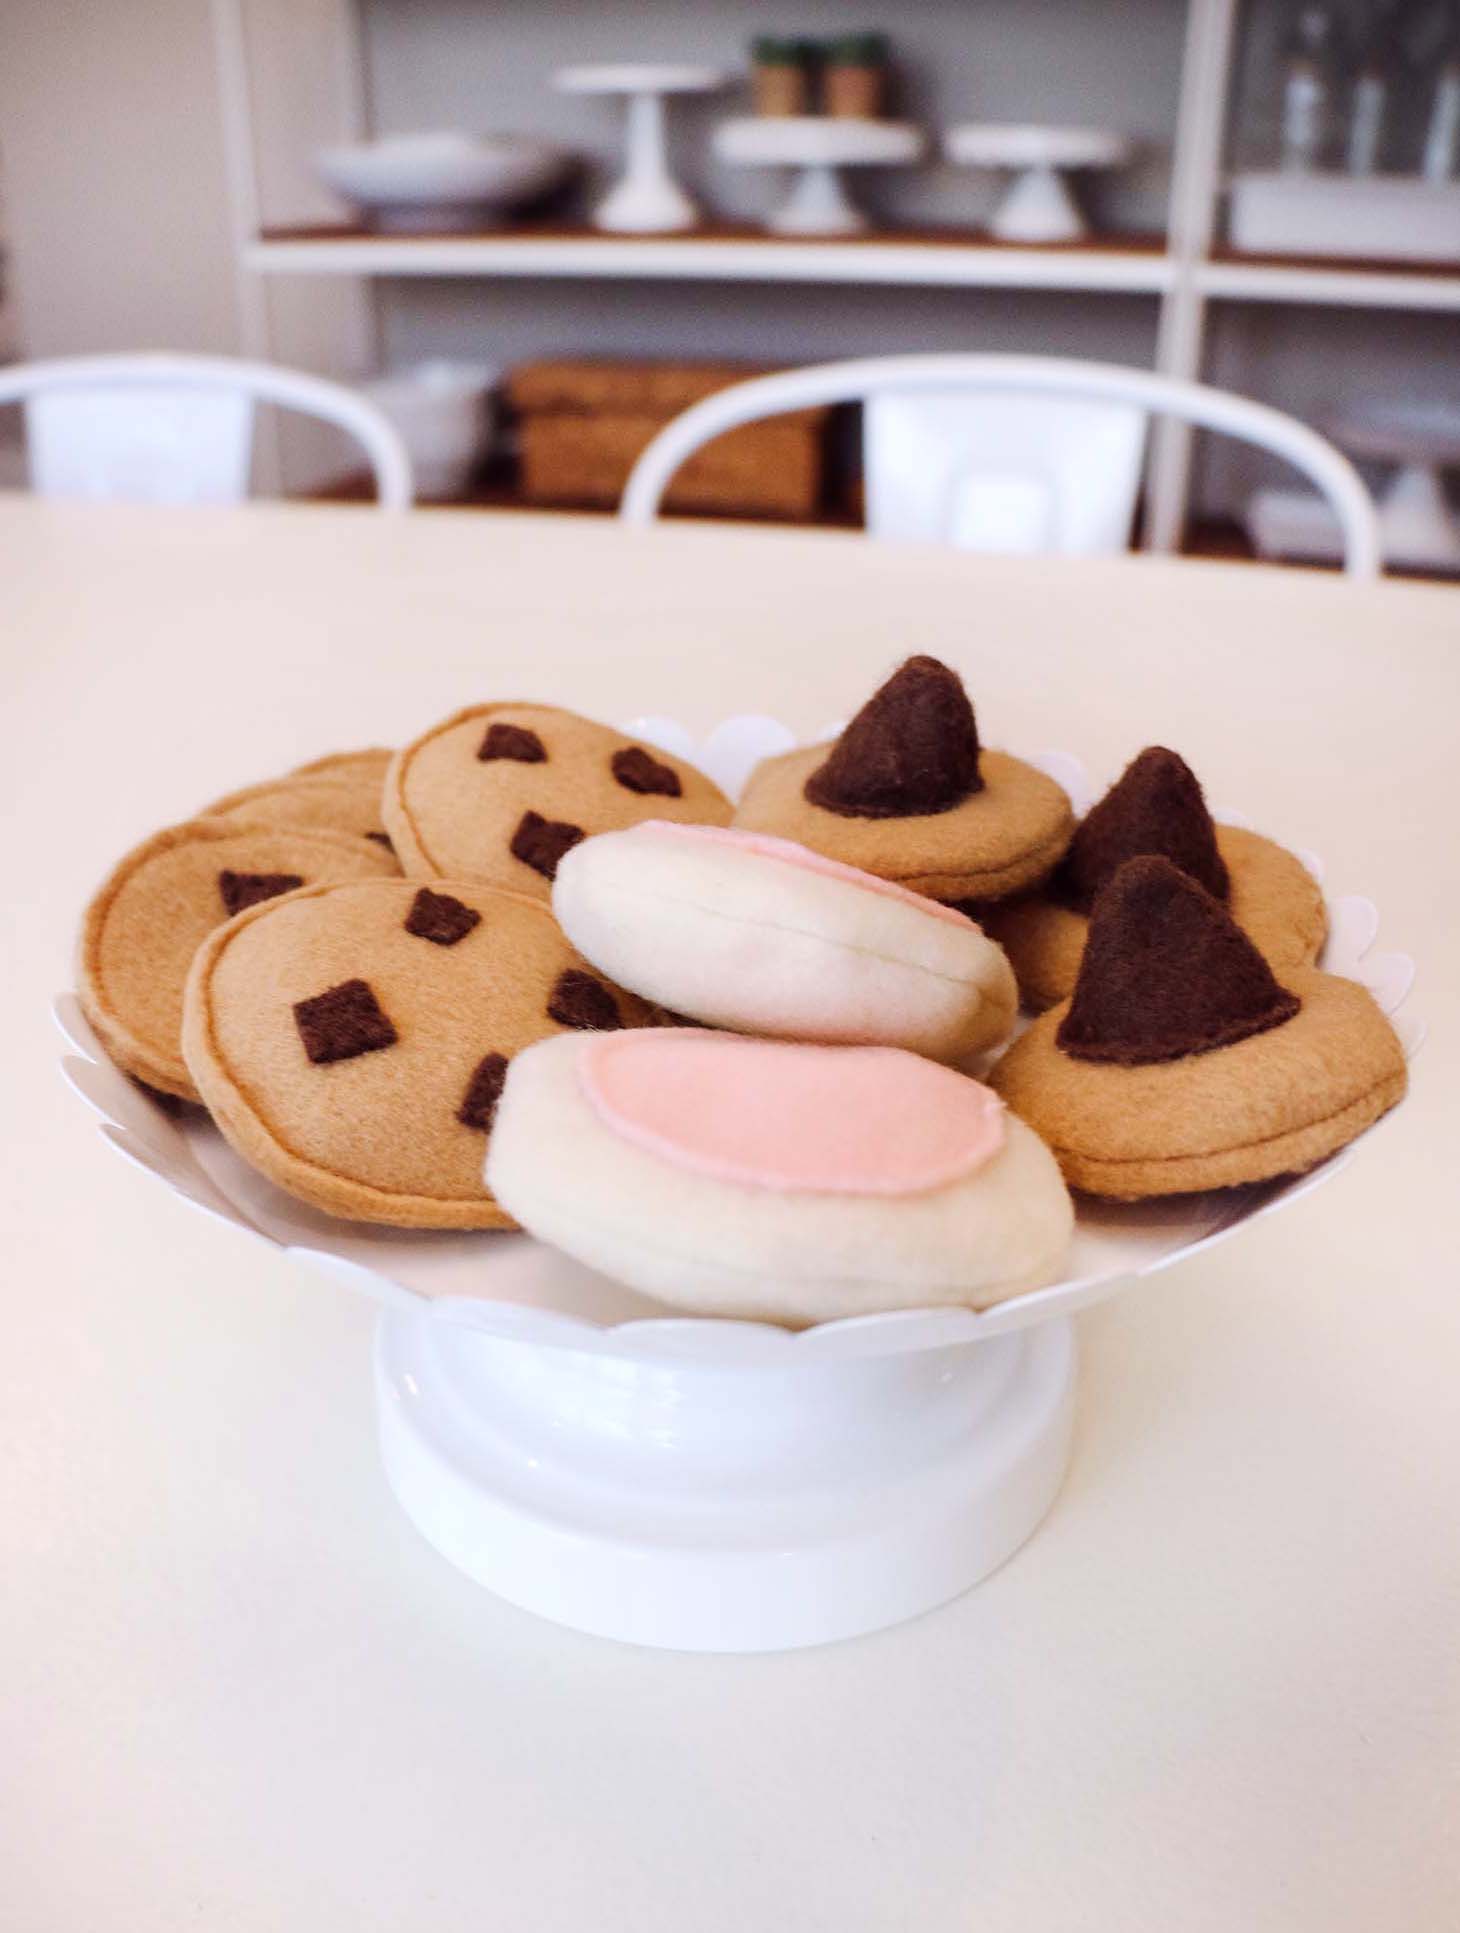
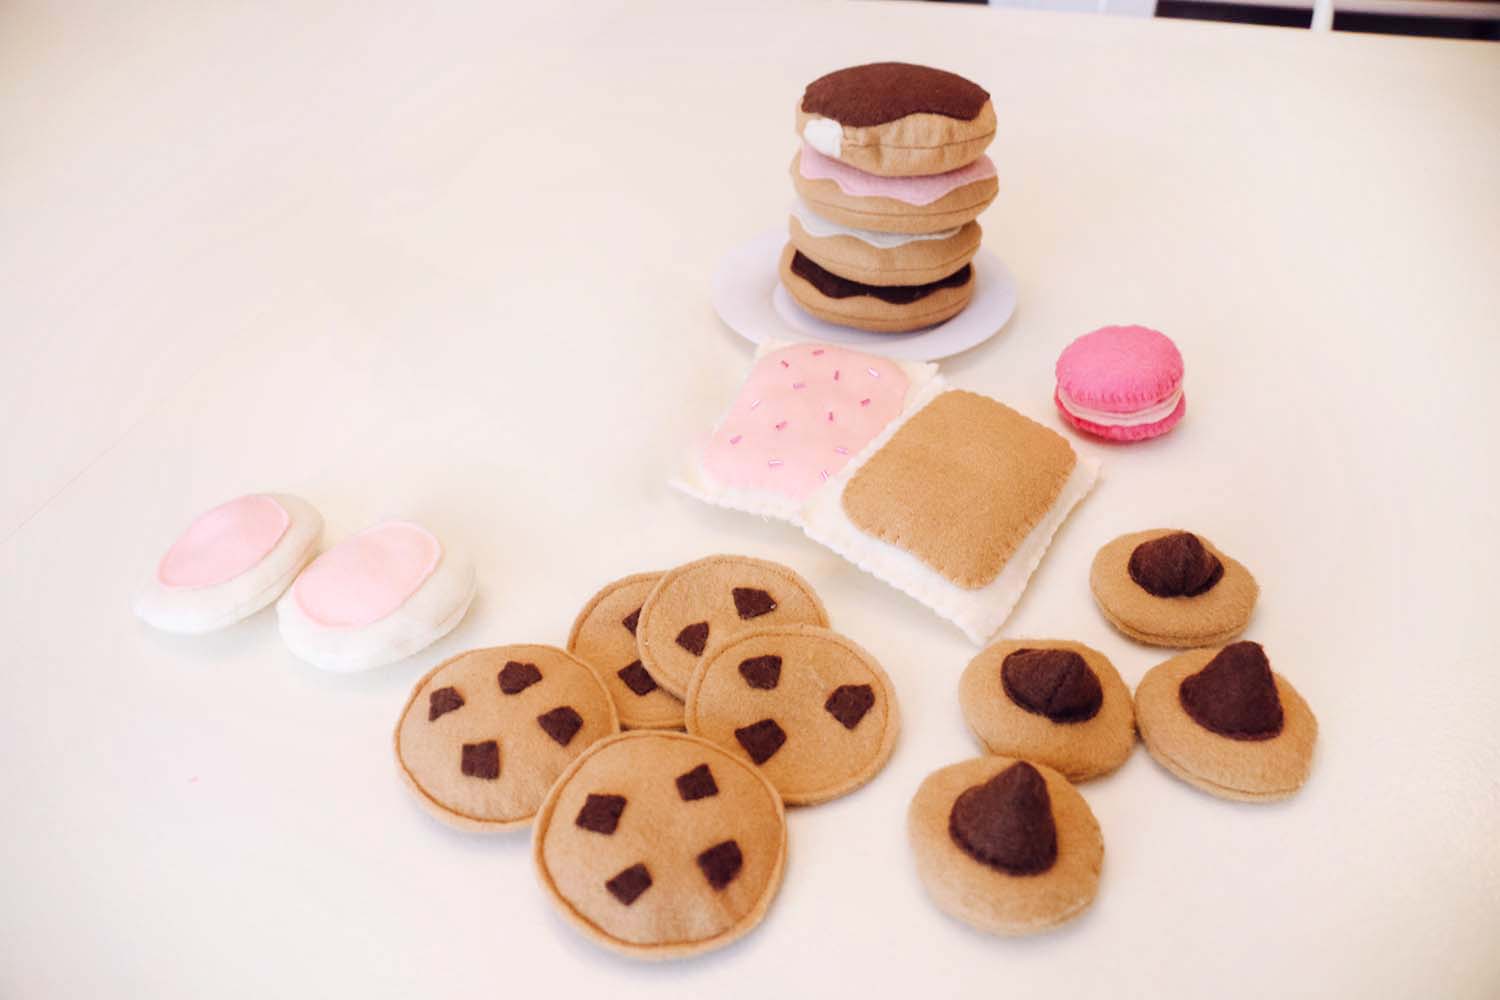
I knew I wanted to create some of our FAVORITE cookies for the kids’ play kitchen!
1. Peanut Blossoms are a recipe we’ve been making since I was a child
and they just remind me of Holidays and family time.
I like when the kids bring me over a plate of these and a cup of their pretend milk. hehe.
PEANUT BLOSSOM STEPS:
Cut out the two cookie circles…
Cut out the Hershey kiss shape and stitch together, using stuffing(batting material) to fill it up…
and then attach to one of the cookie circles.
Face that Hershey kiss side down..to another cookie circle.
Use sewing machine (or hand stitch) to connect the two almost
completely, leaving an opening so you can turn it inside out.
That way you can stuff them with stuffing and hand stitch shut…
it gives the cookie the puffy shape!
2. Chocolate chip cookies- although we prefer the just the dough around here ;)
You can use the same circle patterns as the peanut blossoms…
just how you stitch them up gives them the different shape.
CHOCOLATE CHIP COOKIES STEPS:
I first hand stitch little chocolate chip chunks onto one of the cookie circles…
then place another cookie circle under it and then almost stitch them completely together…
leaving space for a little stuffing..and then finish of the stitches.
You don’t have to do the stuffing in these cookies if you don’t want too!
we’ve done both ways. Just depends if you want flat cookies or not. haha.
3. We lived in Pittsburgh, PA when these glorious soft sugar cookies with pink icing
were first introduced to us and I immediately was in love. haha.
People call them different things…but to us it’s soft sugar cookies!
So I whipped up a little batch of those and it just makes me happy. and hungry. ha!
SOFT SUGAR COOKIES STEPS:
Similar to the peanut blossom cookies…
I cute out two circles of cookie “dough”…. attach the pink icing cut out to one of them…
face it side down onto the other cookie circle and stitch with sewing machine
or by hand just enough to to connect/turn inside out/stuff with batting and then hand stitch up!
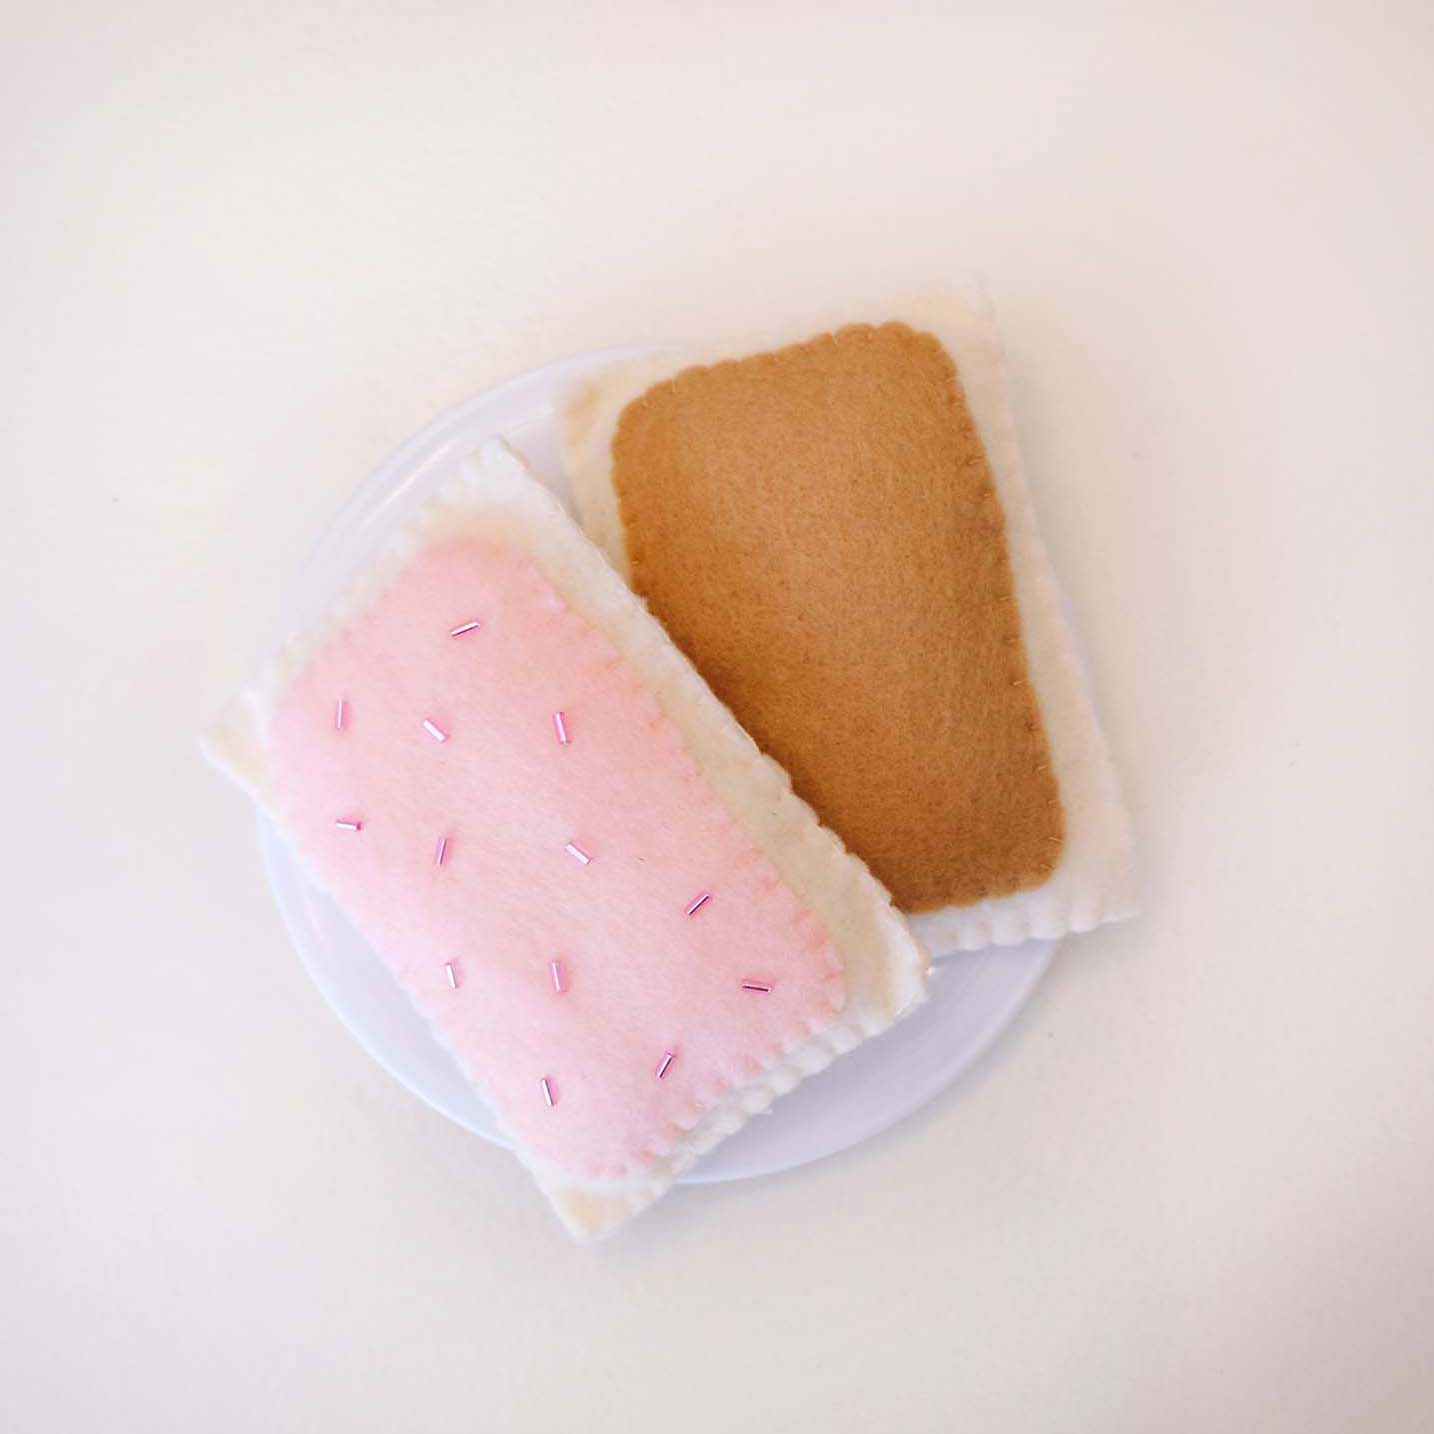
My kids love pop tarts! (And so do I.)
We made our two favorite flavors:
Brown Sugar Cinnamon and Strawberry!
These are super easy to whip up with a hand stitch!
STEPS FOR POP TARTS:
Just cut out your pop tart and frosting shapes…
Attach your frosting and sprinkles (optional) to one side of the pop tart.
Then start sticking two sides together…
I did a wider stitch on the outside when I made it so that they kind of puckered like that!
sorry I don’t even know the correct name for that
but girl see if I can do this you can too haha.
Leave a little opening to add in some stuffing and then finish off the stitching!
SUPER EASY!
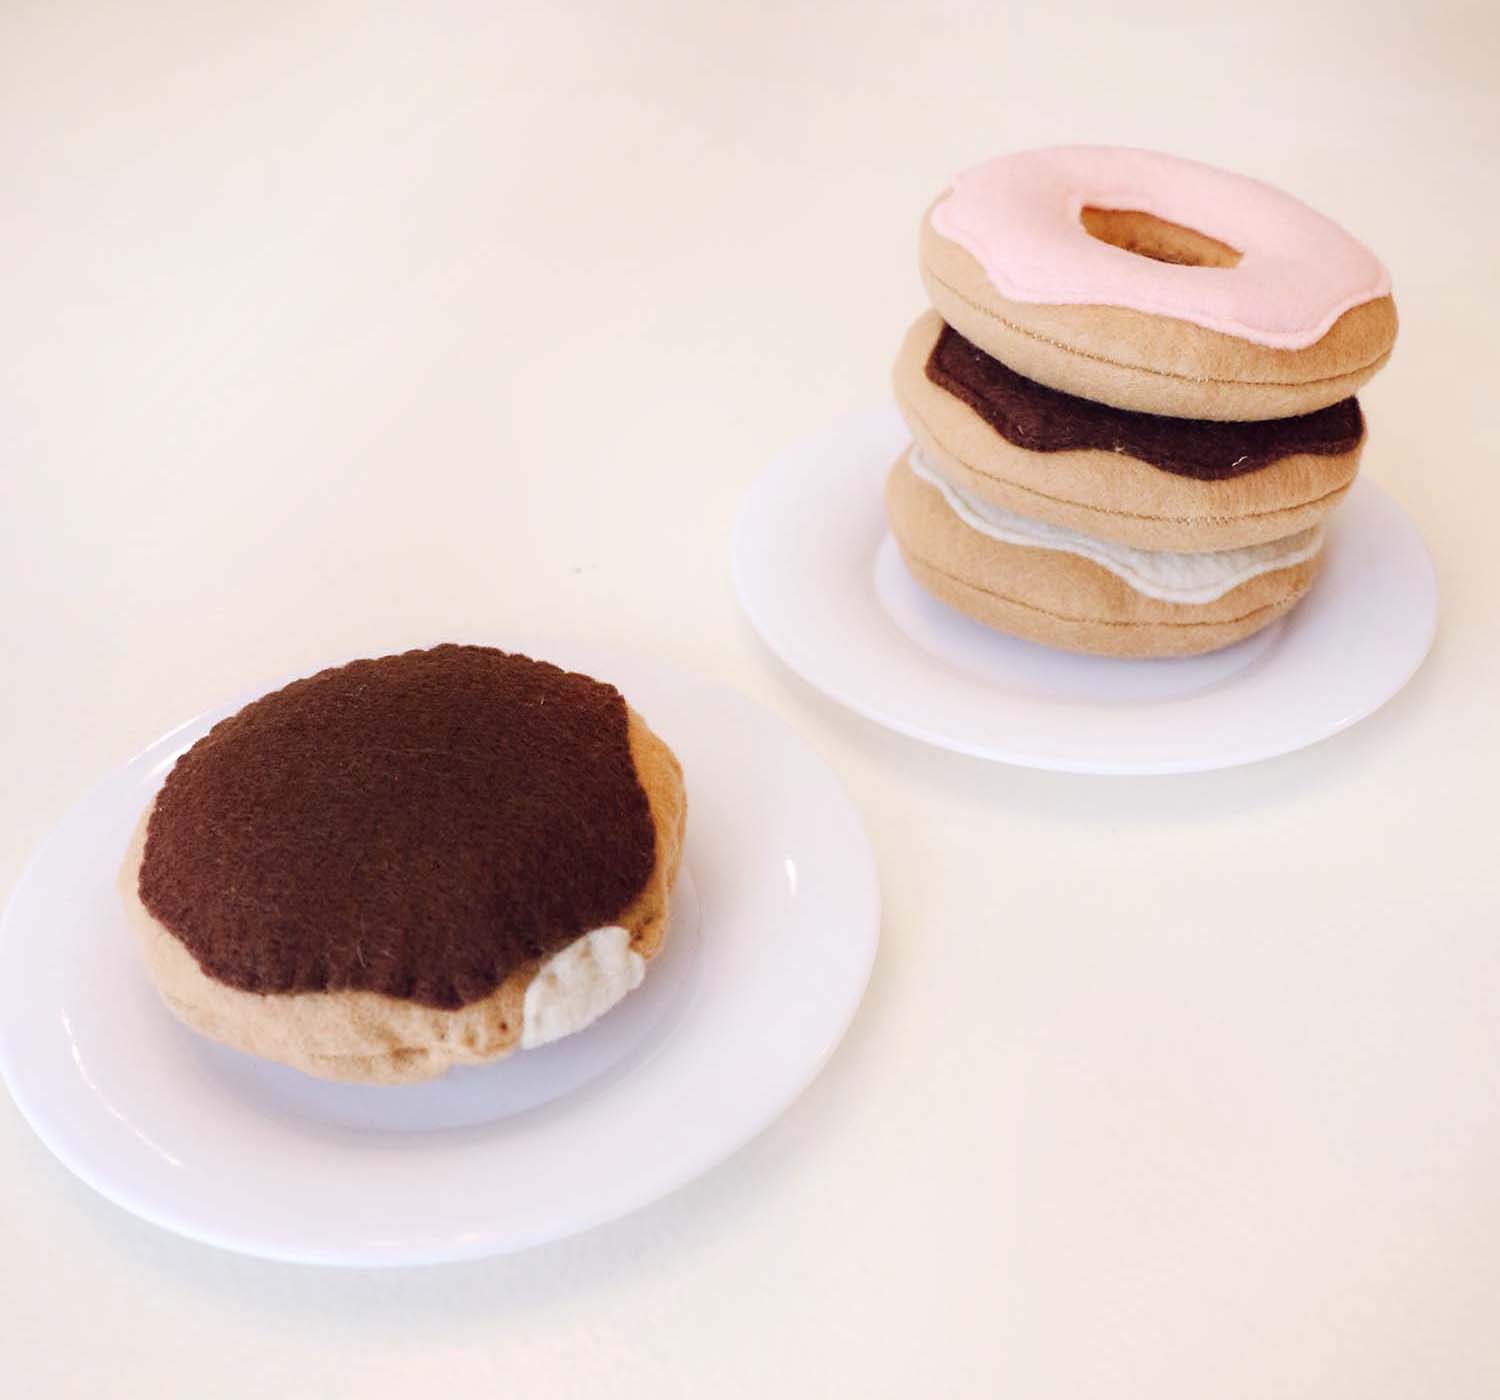
Donuts are a must in any play kitchen!! ;)
I LOVE having these felt ones because the baby can stack them up…
and the kids like having a variety for when “customers” order.
I of course had to make up my favorite Boston Creme donut…
the kids know that’s mama’s!
STEPS FOR DONUTS:
I cut out two donut shapes…. attach the icing of choice to one side…
Face it side down onto the other donut circle and stitch with sewing machine
or by hand just enough to to connect/turn inside out/stuff with batting and then hand stitch up!
For the Boston creme…use same donut circle just don’t put the middle cut out in there!
And then attach a little “creme” felt to finish it off!
That part can be a little tricky but girl just wing it- it’s a donut and they’re usually messy. ;)
I realized I don’t have many photos of that lone macaron haha.
I was sort of trying it out..and it ended up being a favorite little thing of the kids!
Use the peanut blossom cookie cut outs to create it!
It’s just two puffs..and a bunch of smaller circles stitched in-between.
I’m still perfecting that little creation but it was still a hit with the kids even though it seemed wonky to me.
And that’s the beauty of felt food… the kids think EVERYTHING is amazing.
So don’t be intimidated by this DIY and just jump in.
I hope you find this post helpful as you make some of your felt food treats!
I love getting my felt at Michaels. It just seems to be a little thicker than what I’ve found at Hobby Lobby.
HAVE FUN! You can do this!

Looking for more felt food inspiration and help?
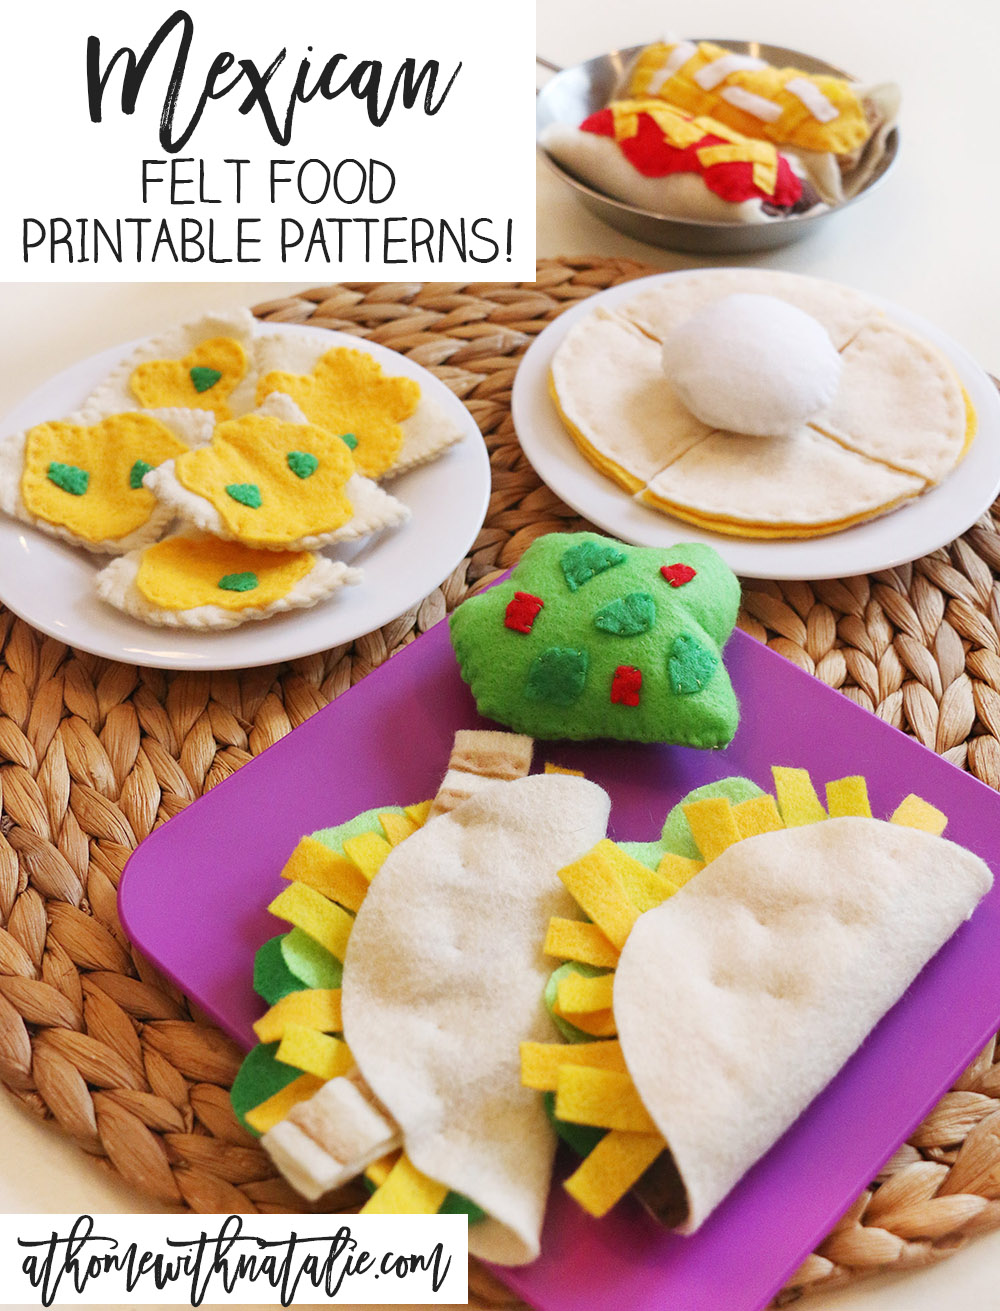
I’ve shared our Mexican Felt Food Patterns and they are one
of my top pins on Pinterest. Everyone loves a taco! ;)
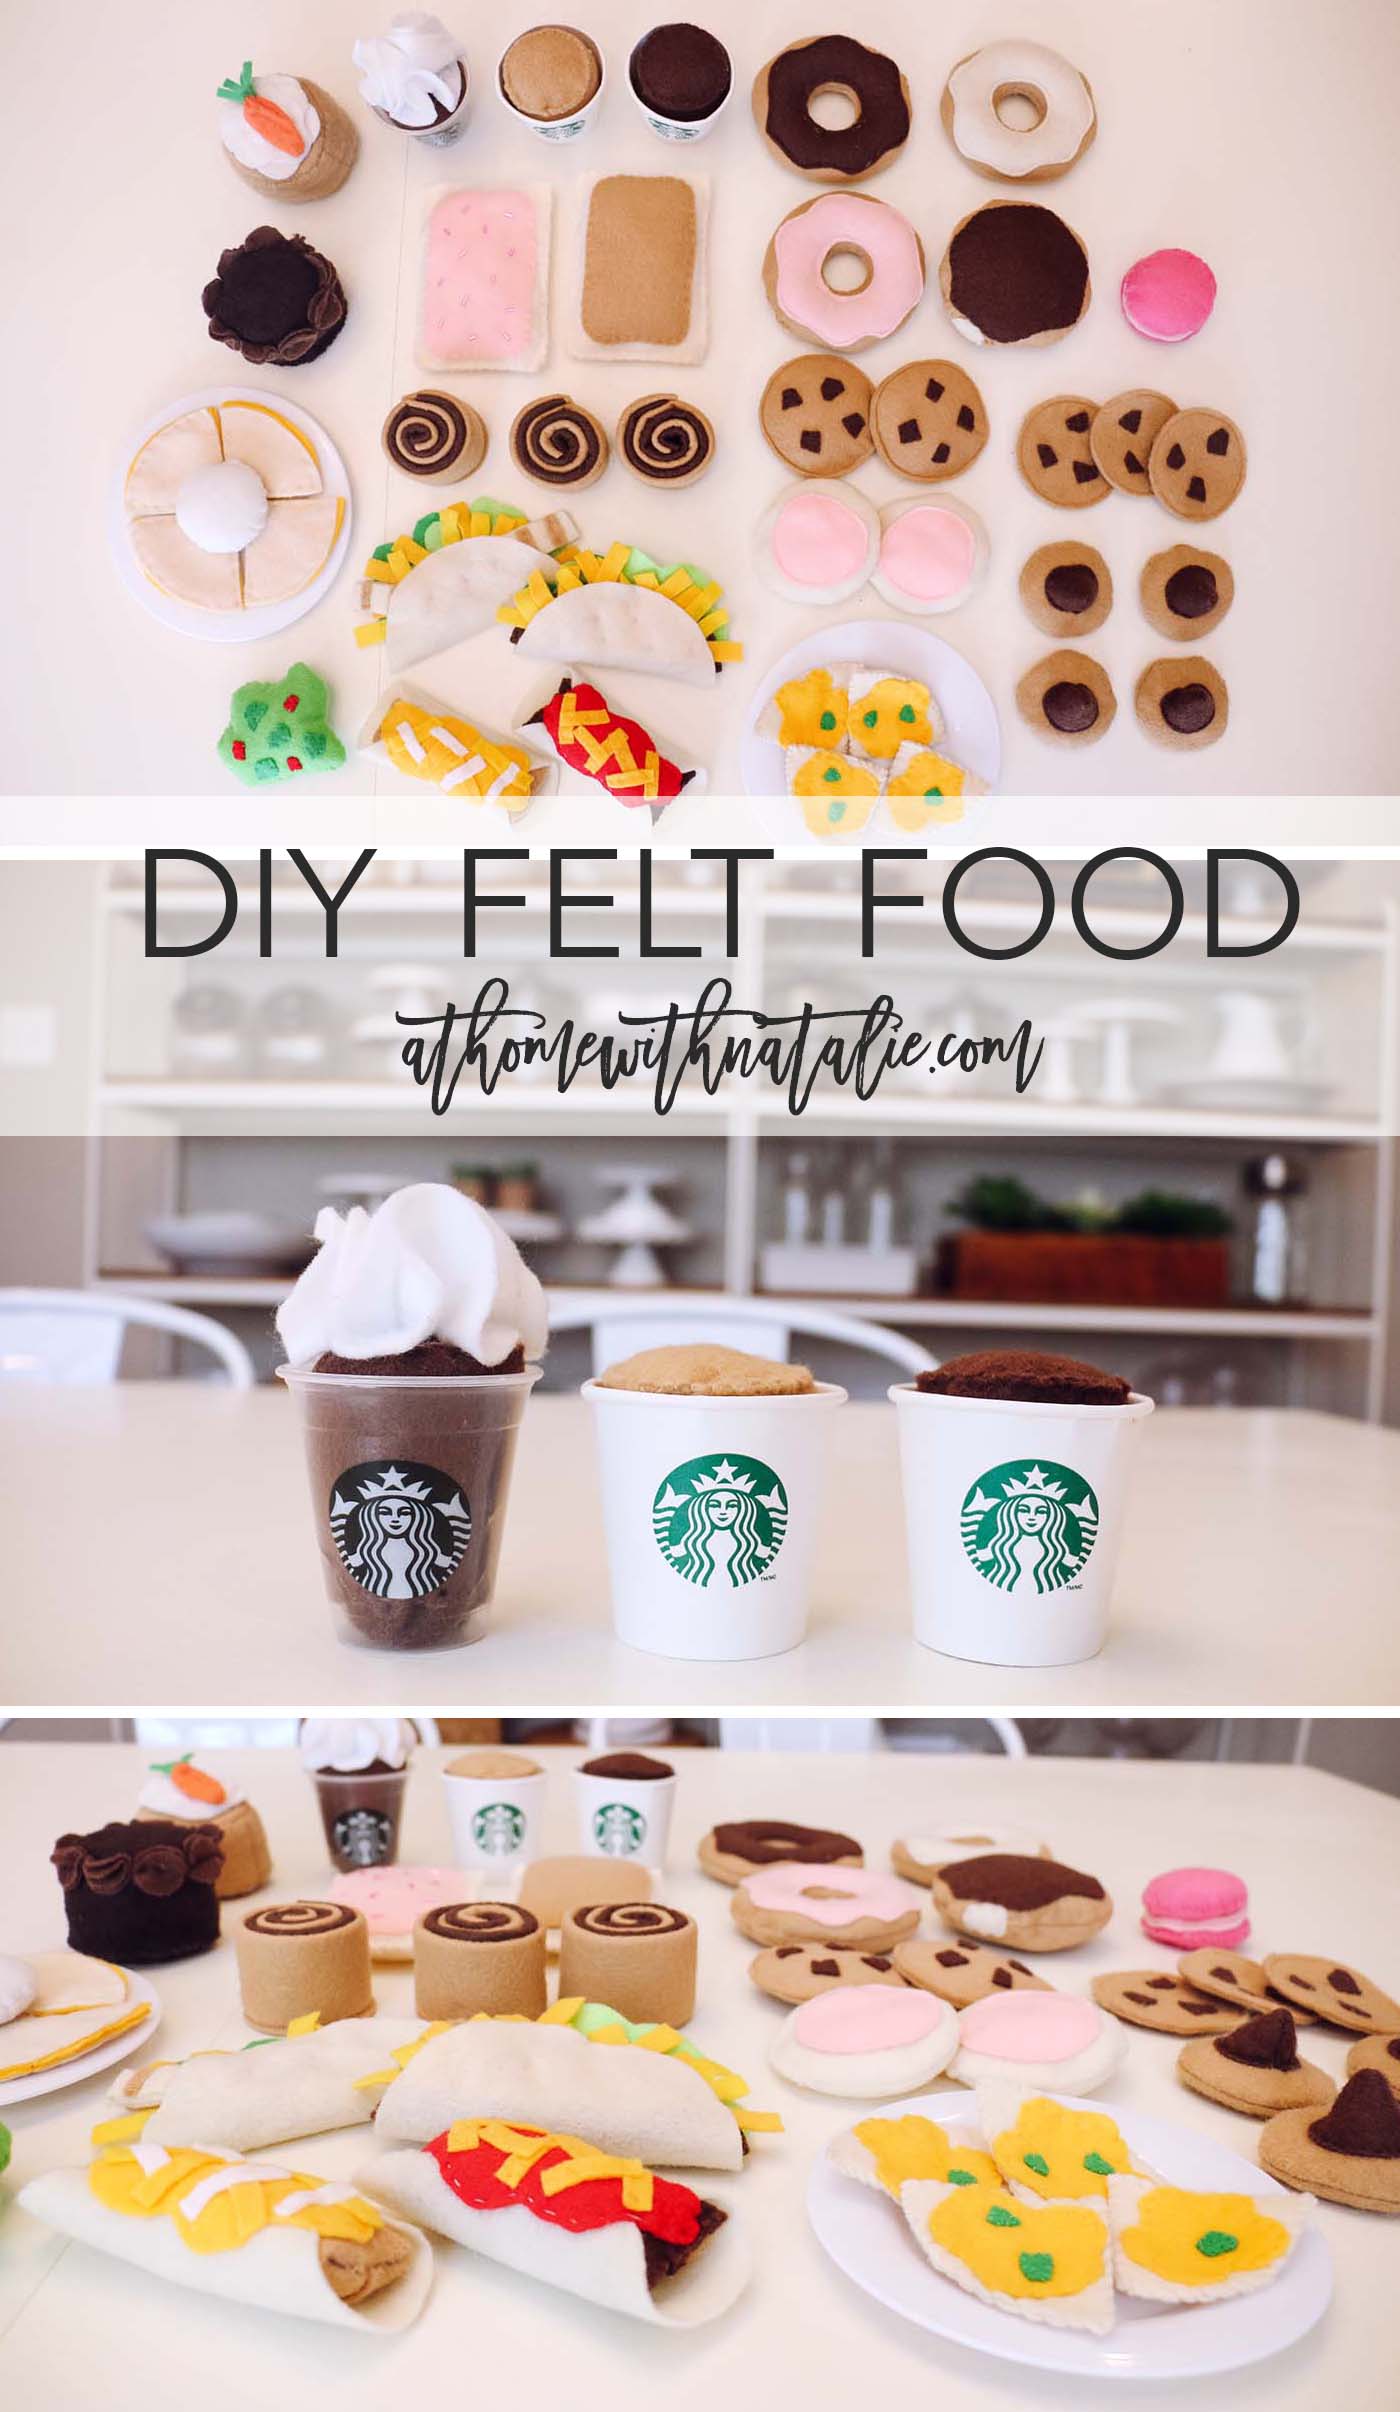
You can also check out these posts on our Felt Food!
DIY Felt Food
Felt Food Coffee
Favorite Felt Food Tutorials
Excited to share our next batch of felt food and patterns. Hint: closed on Sunday. ;)
Follow us over on Instagram to stay in touch: @athomewithnatalie
Beti
March 27, 2019 at 5:18 pmVery cute. I’m sure the kids really “eat them up”!